Final – Run

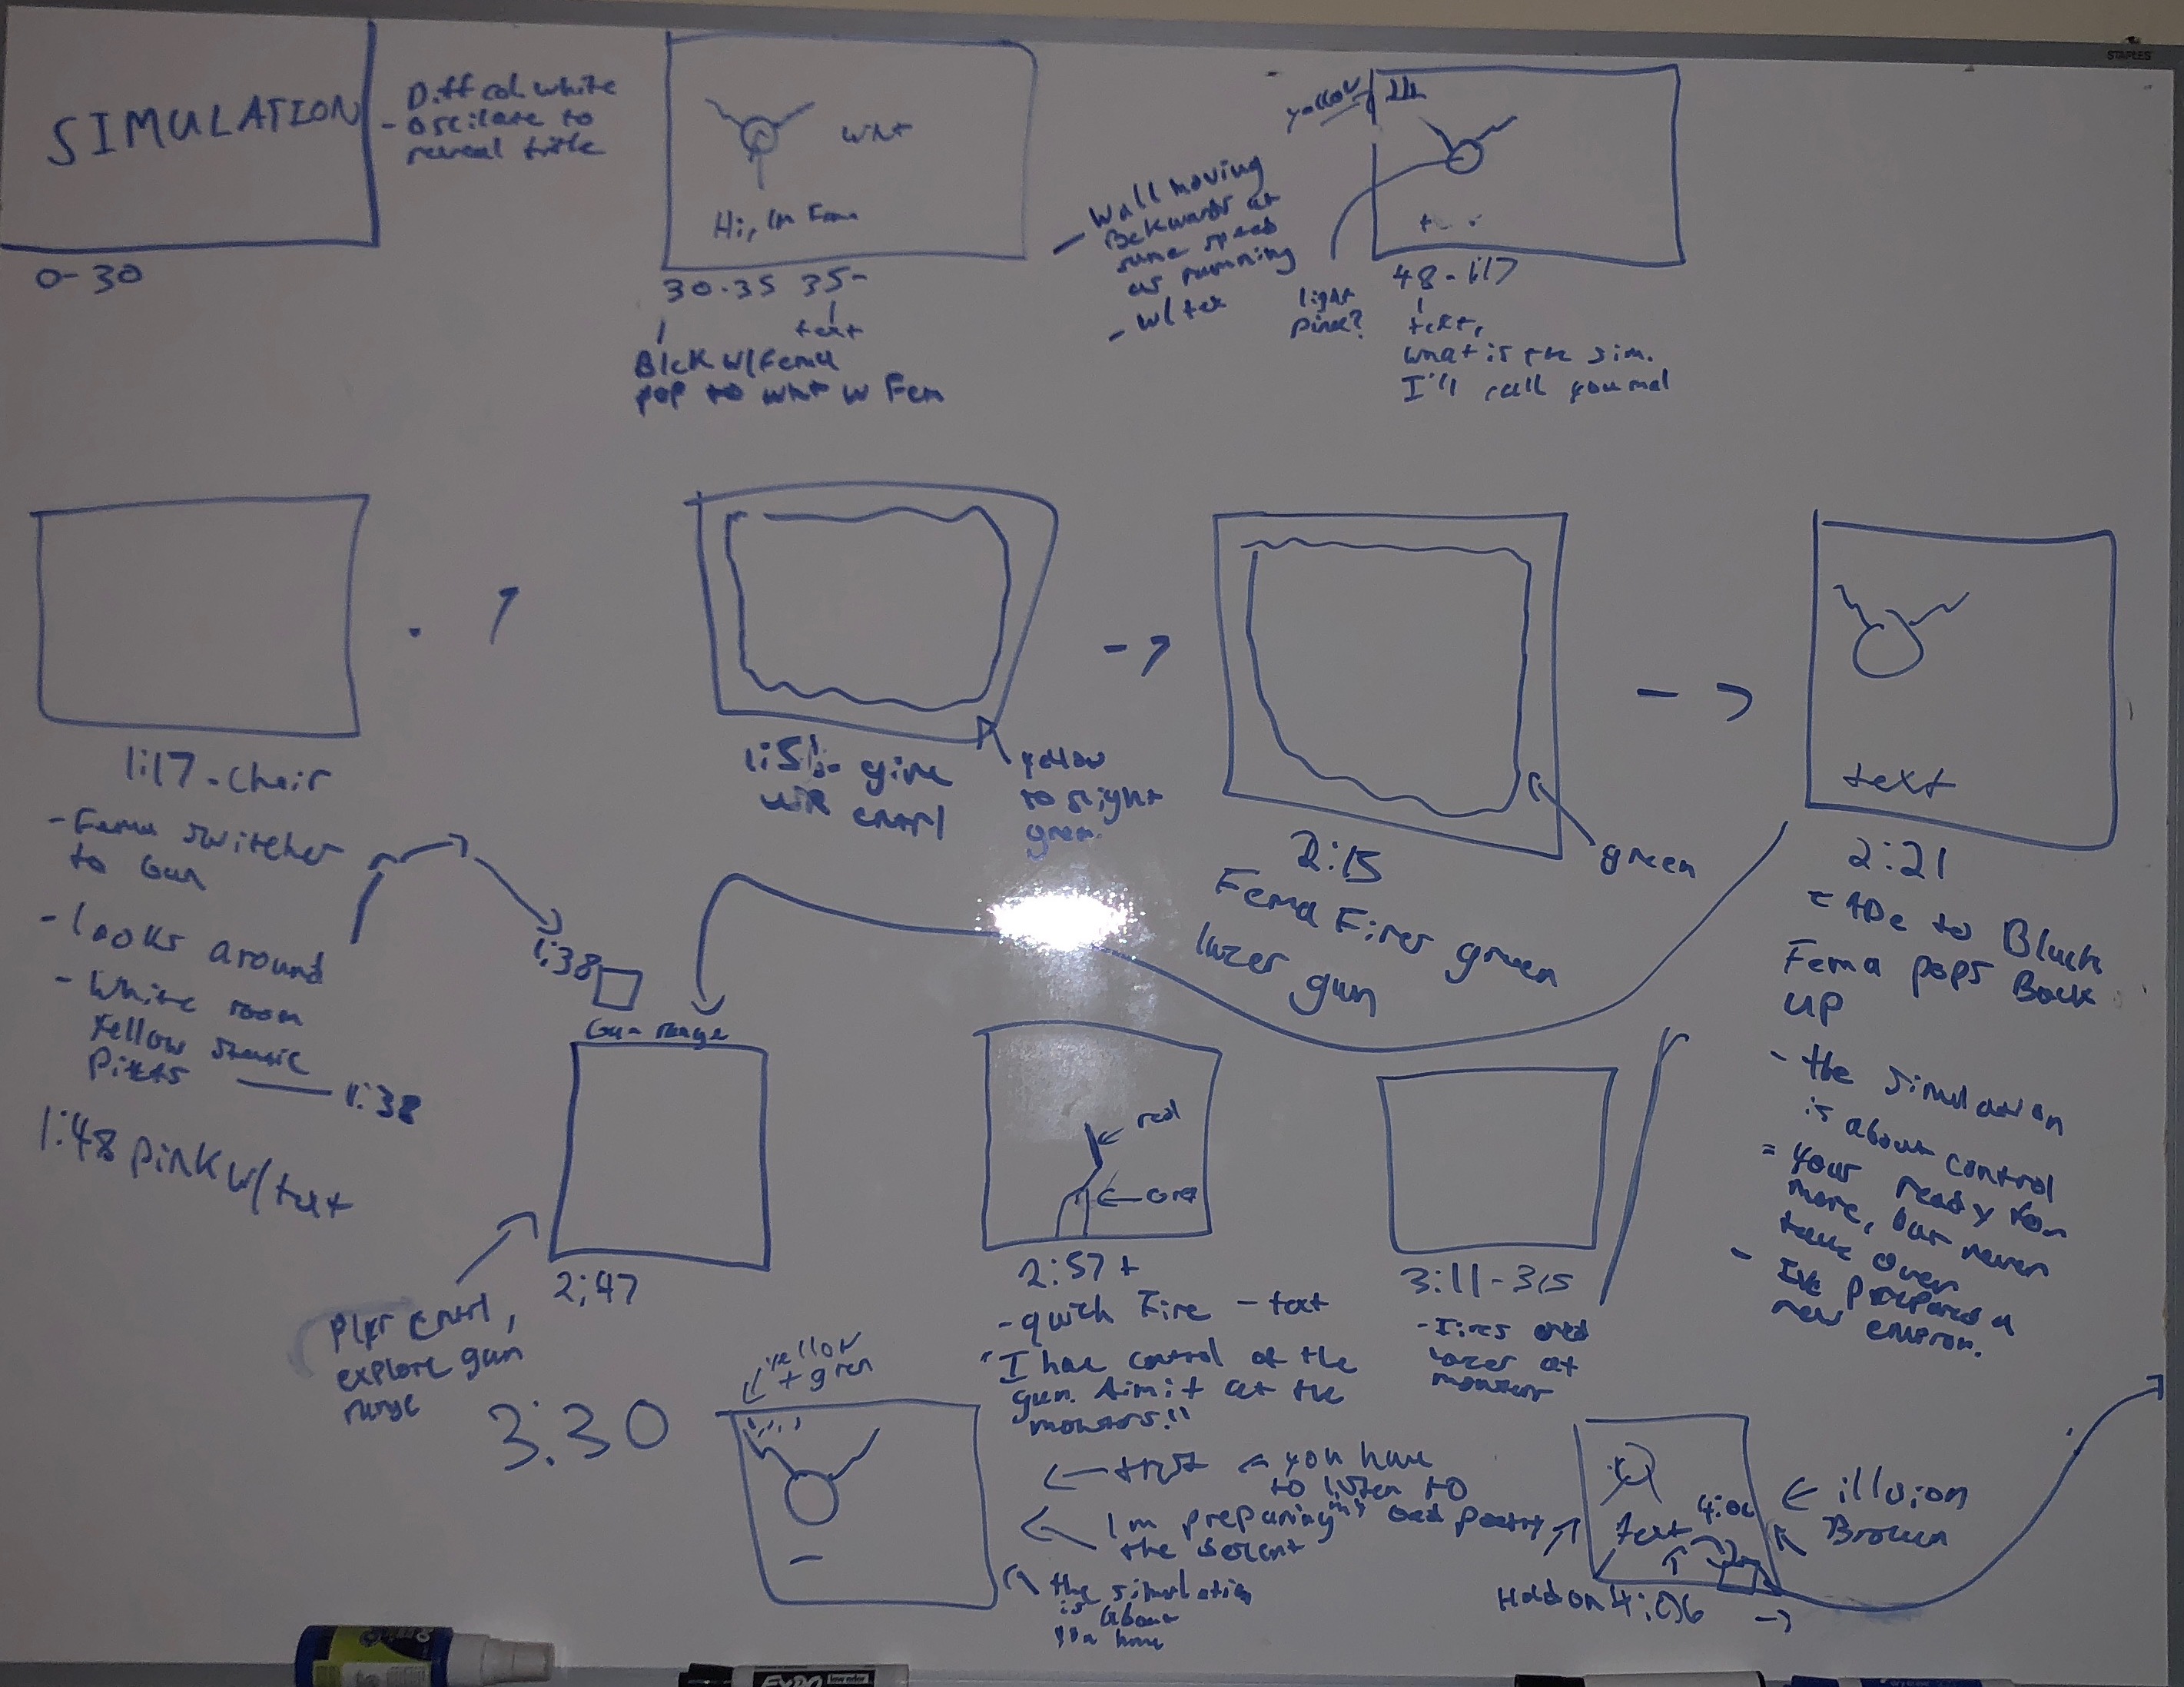
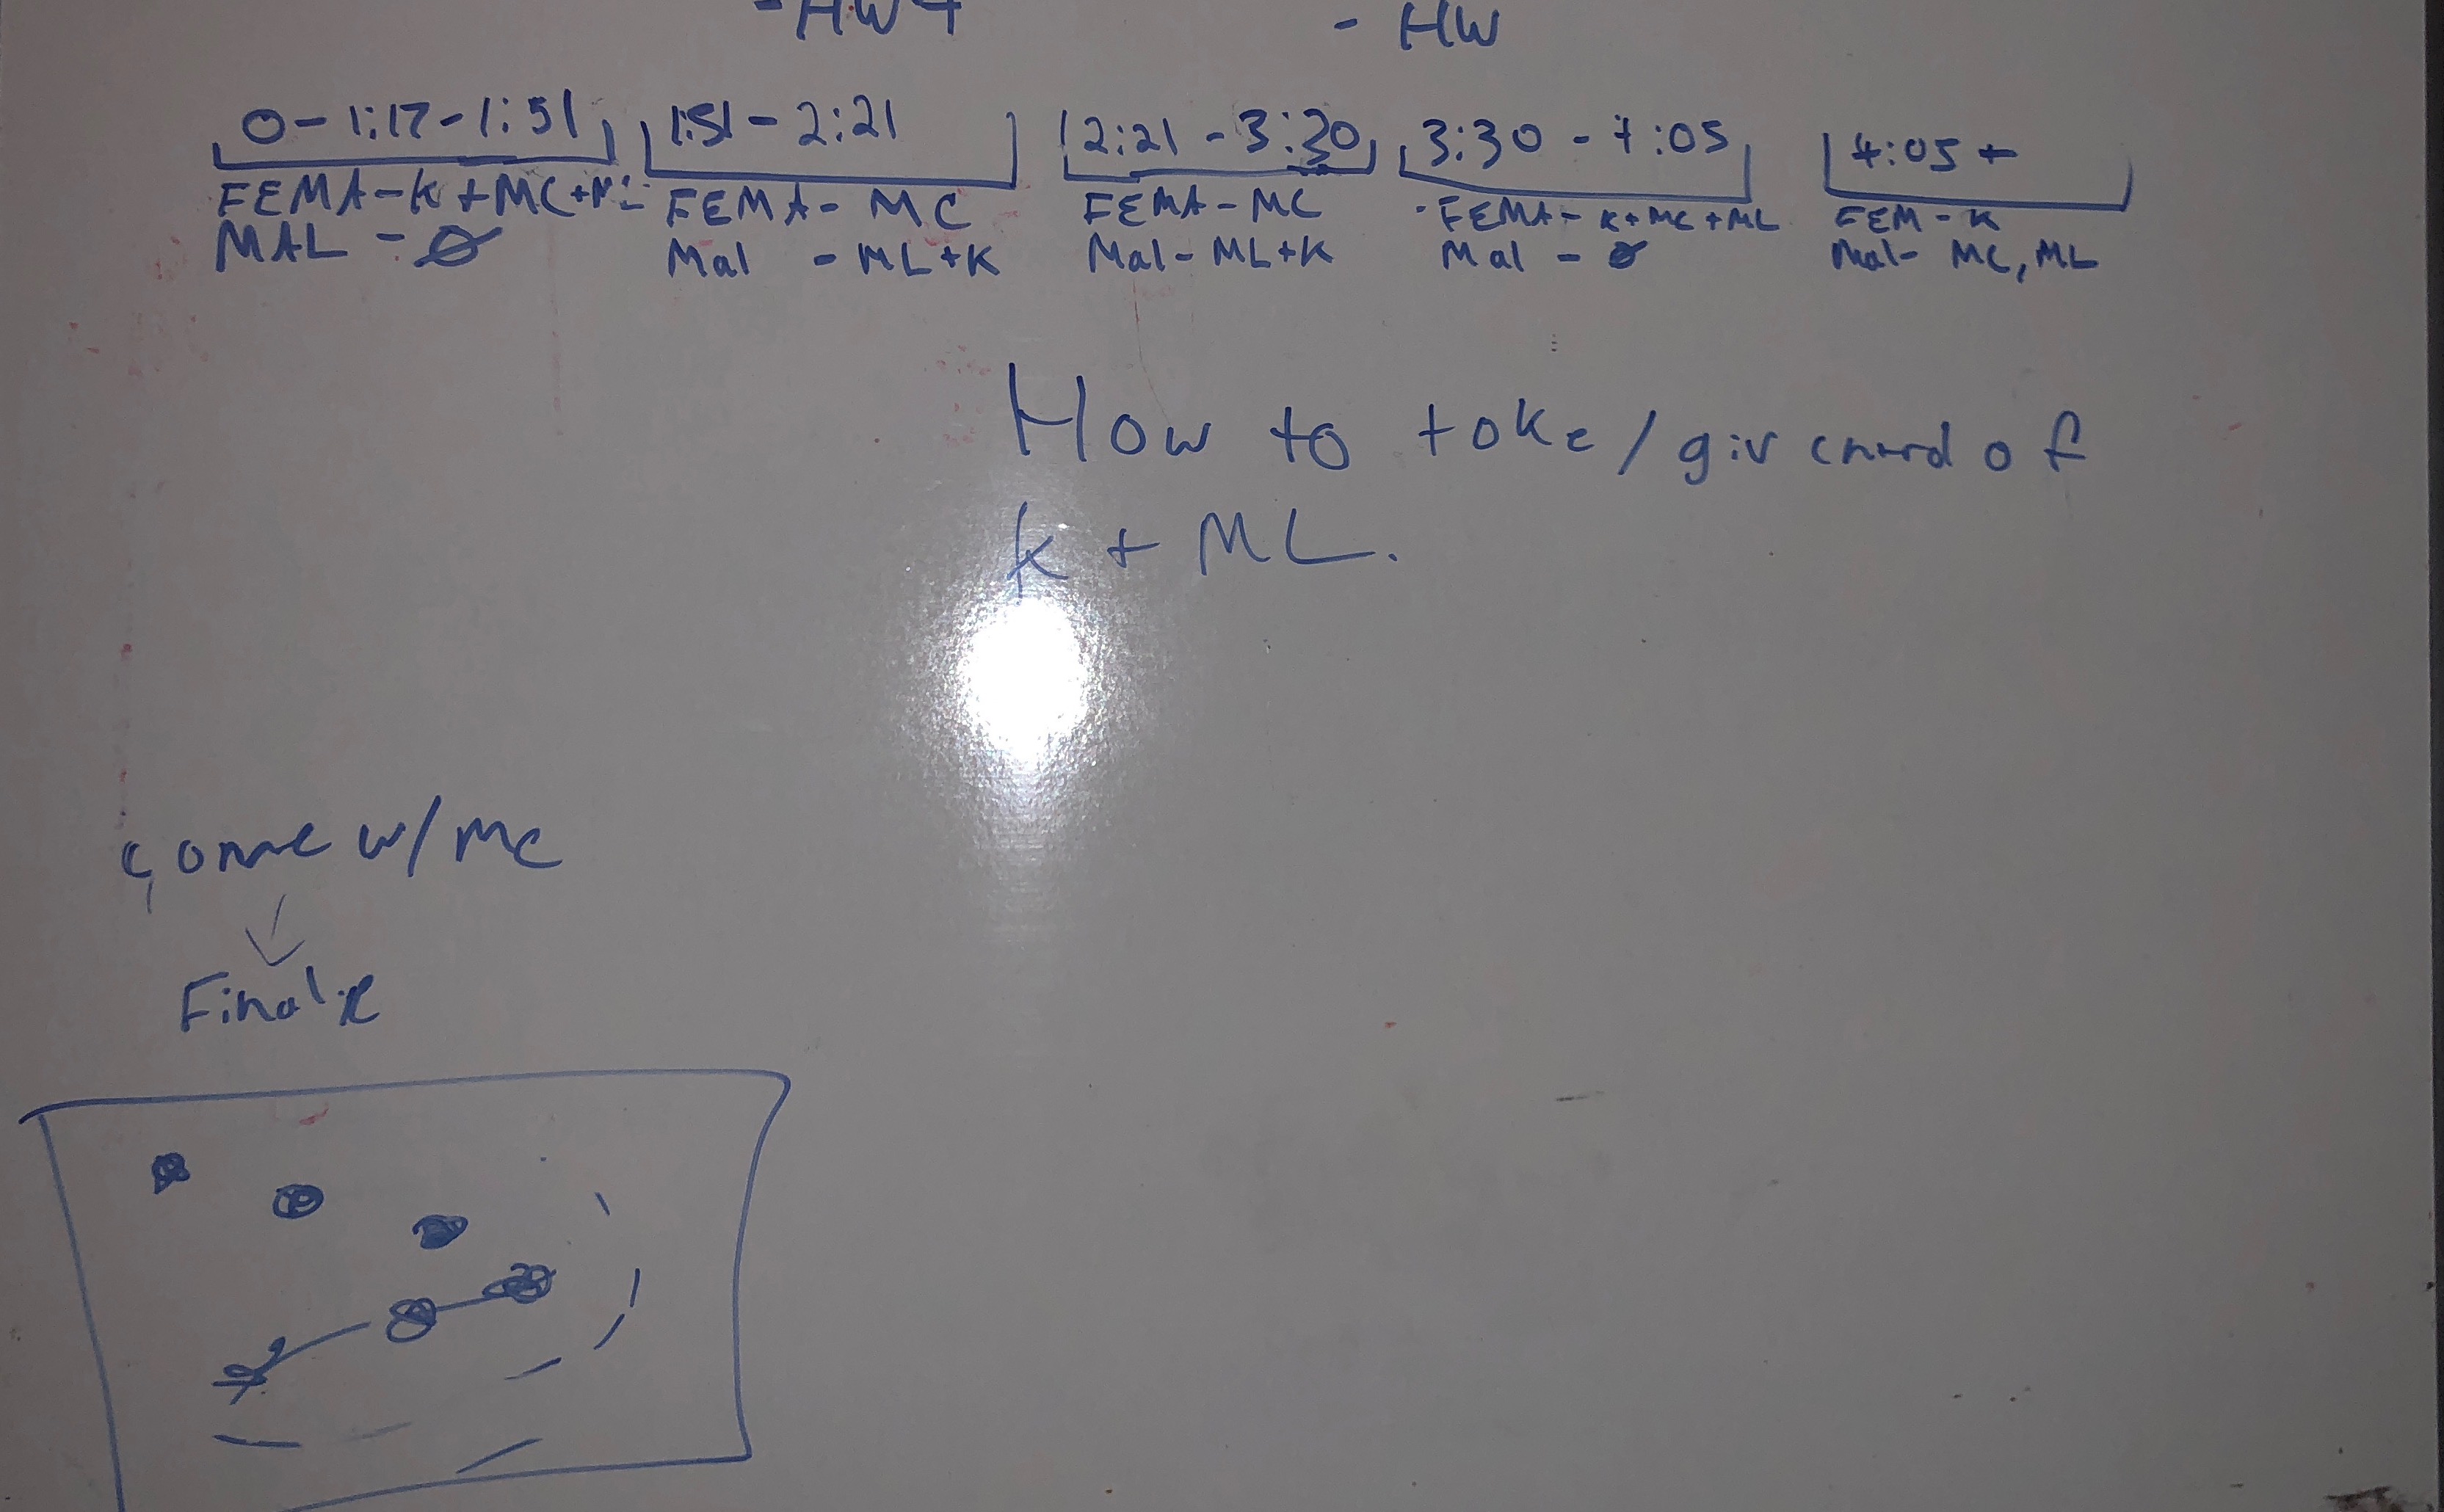
For my final, I ended up massively reducing my original idea.

My original idea involved a narrative that guided the user through a level.

I ended up heavily reducing the scope of the idea in order to complete it before the deadline.  My final ended up being called Run.

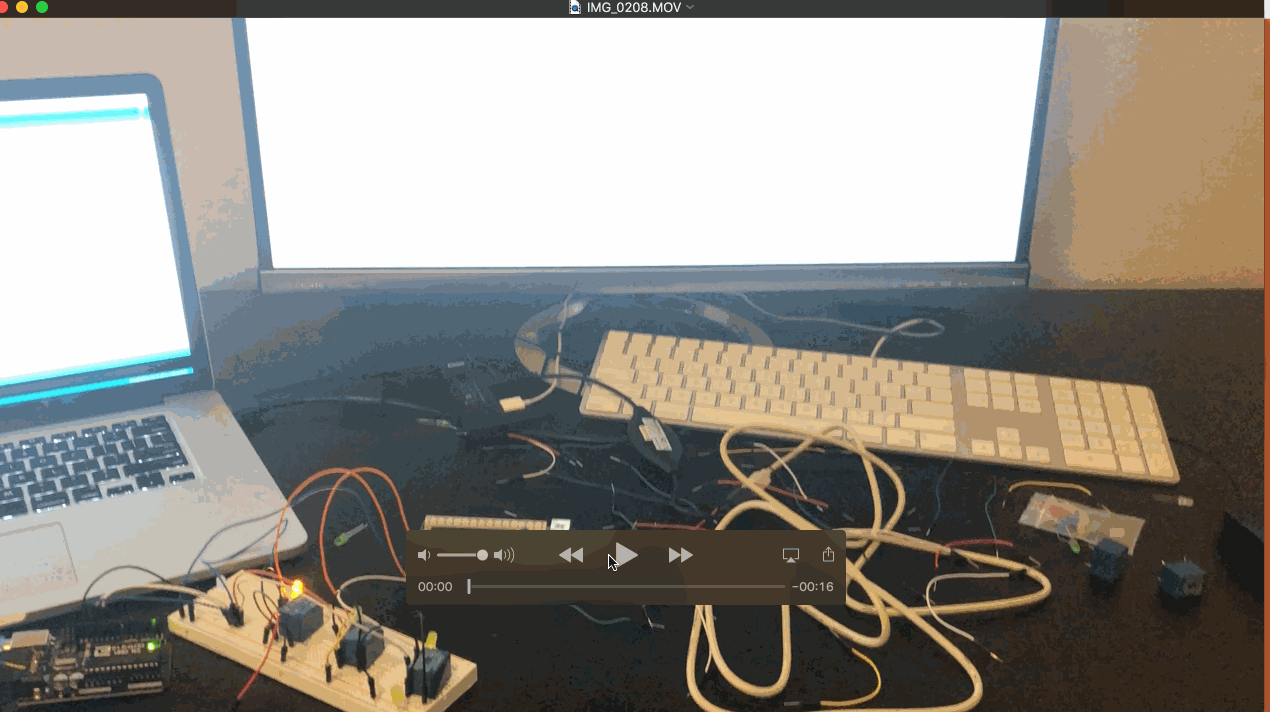
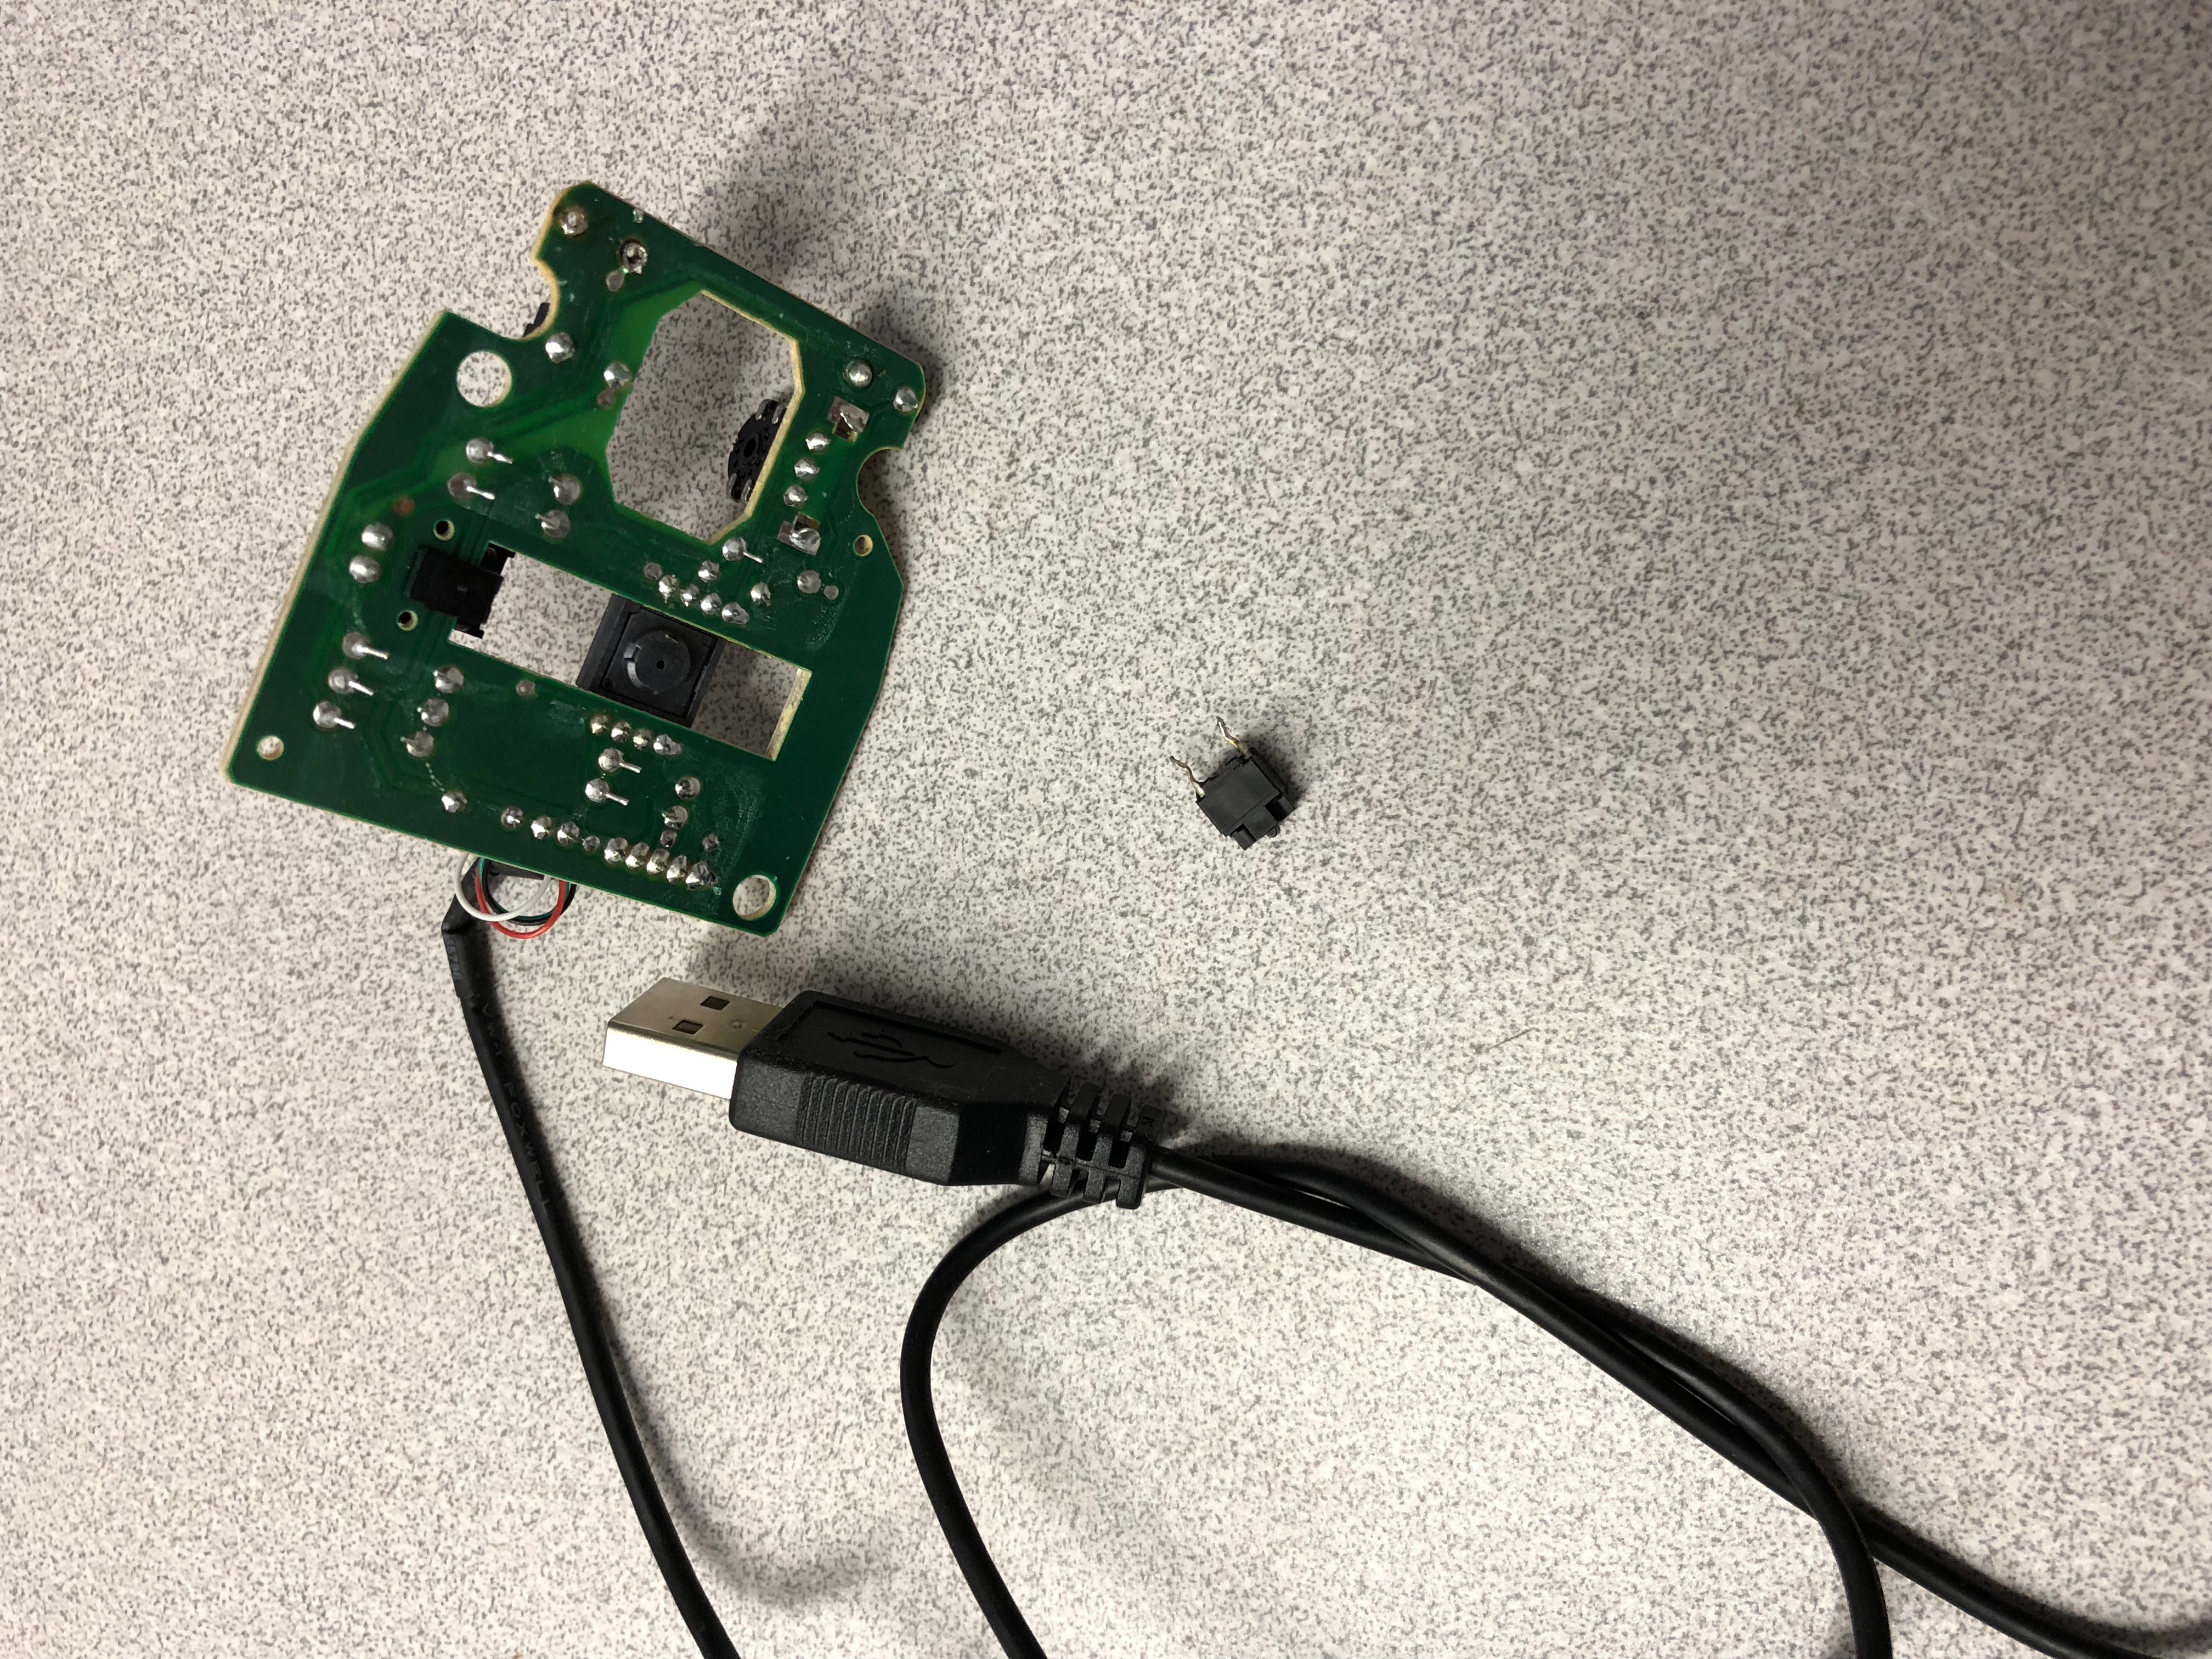
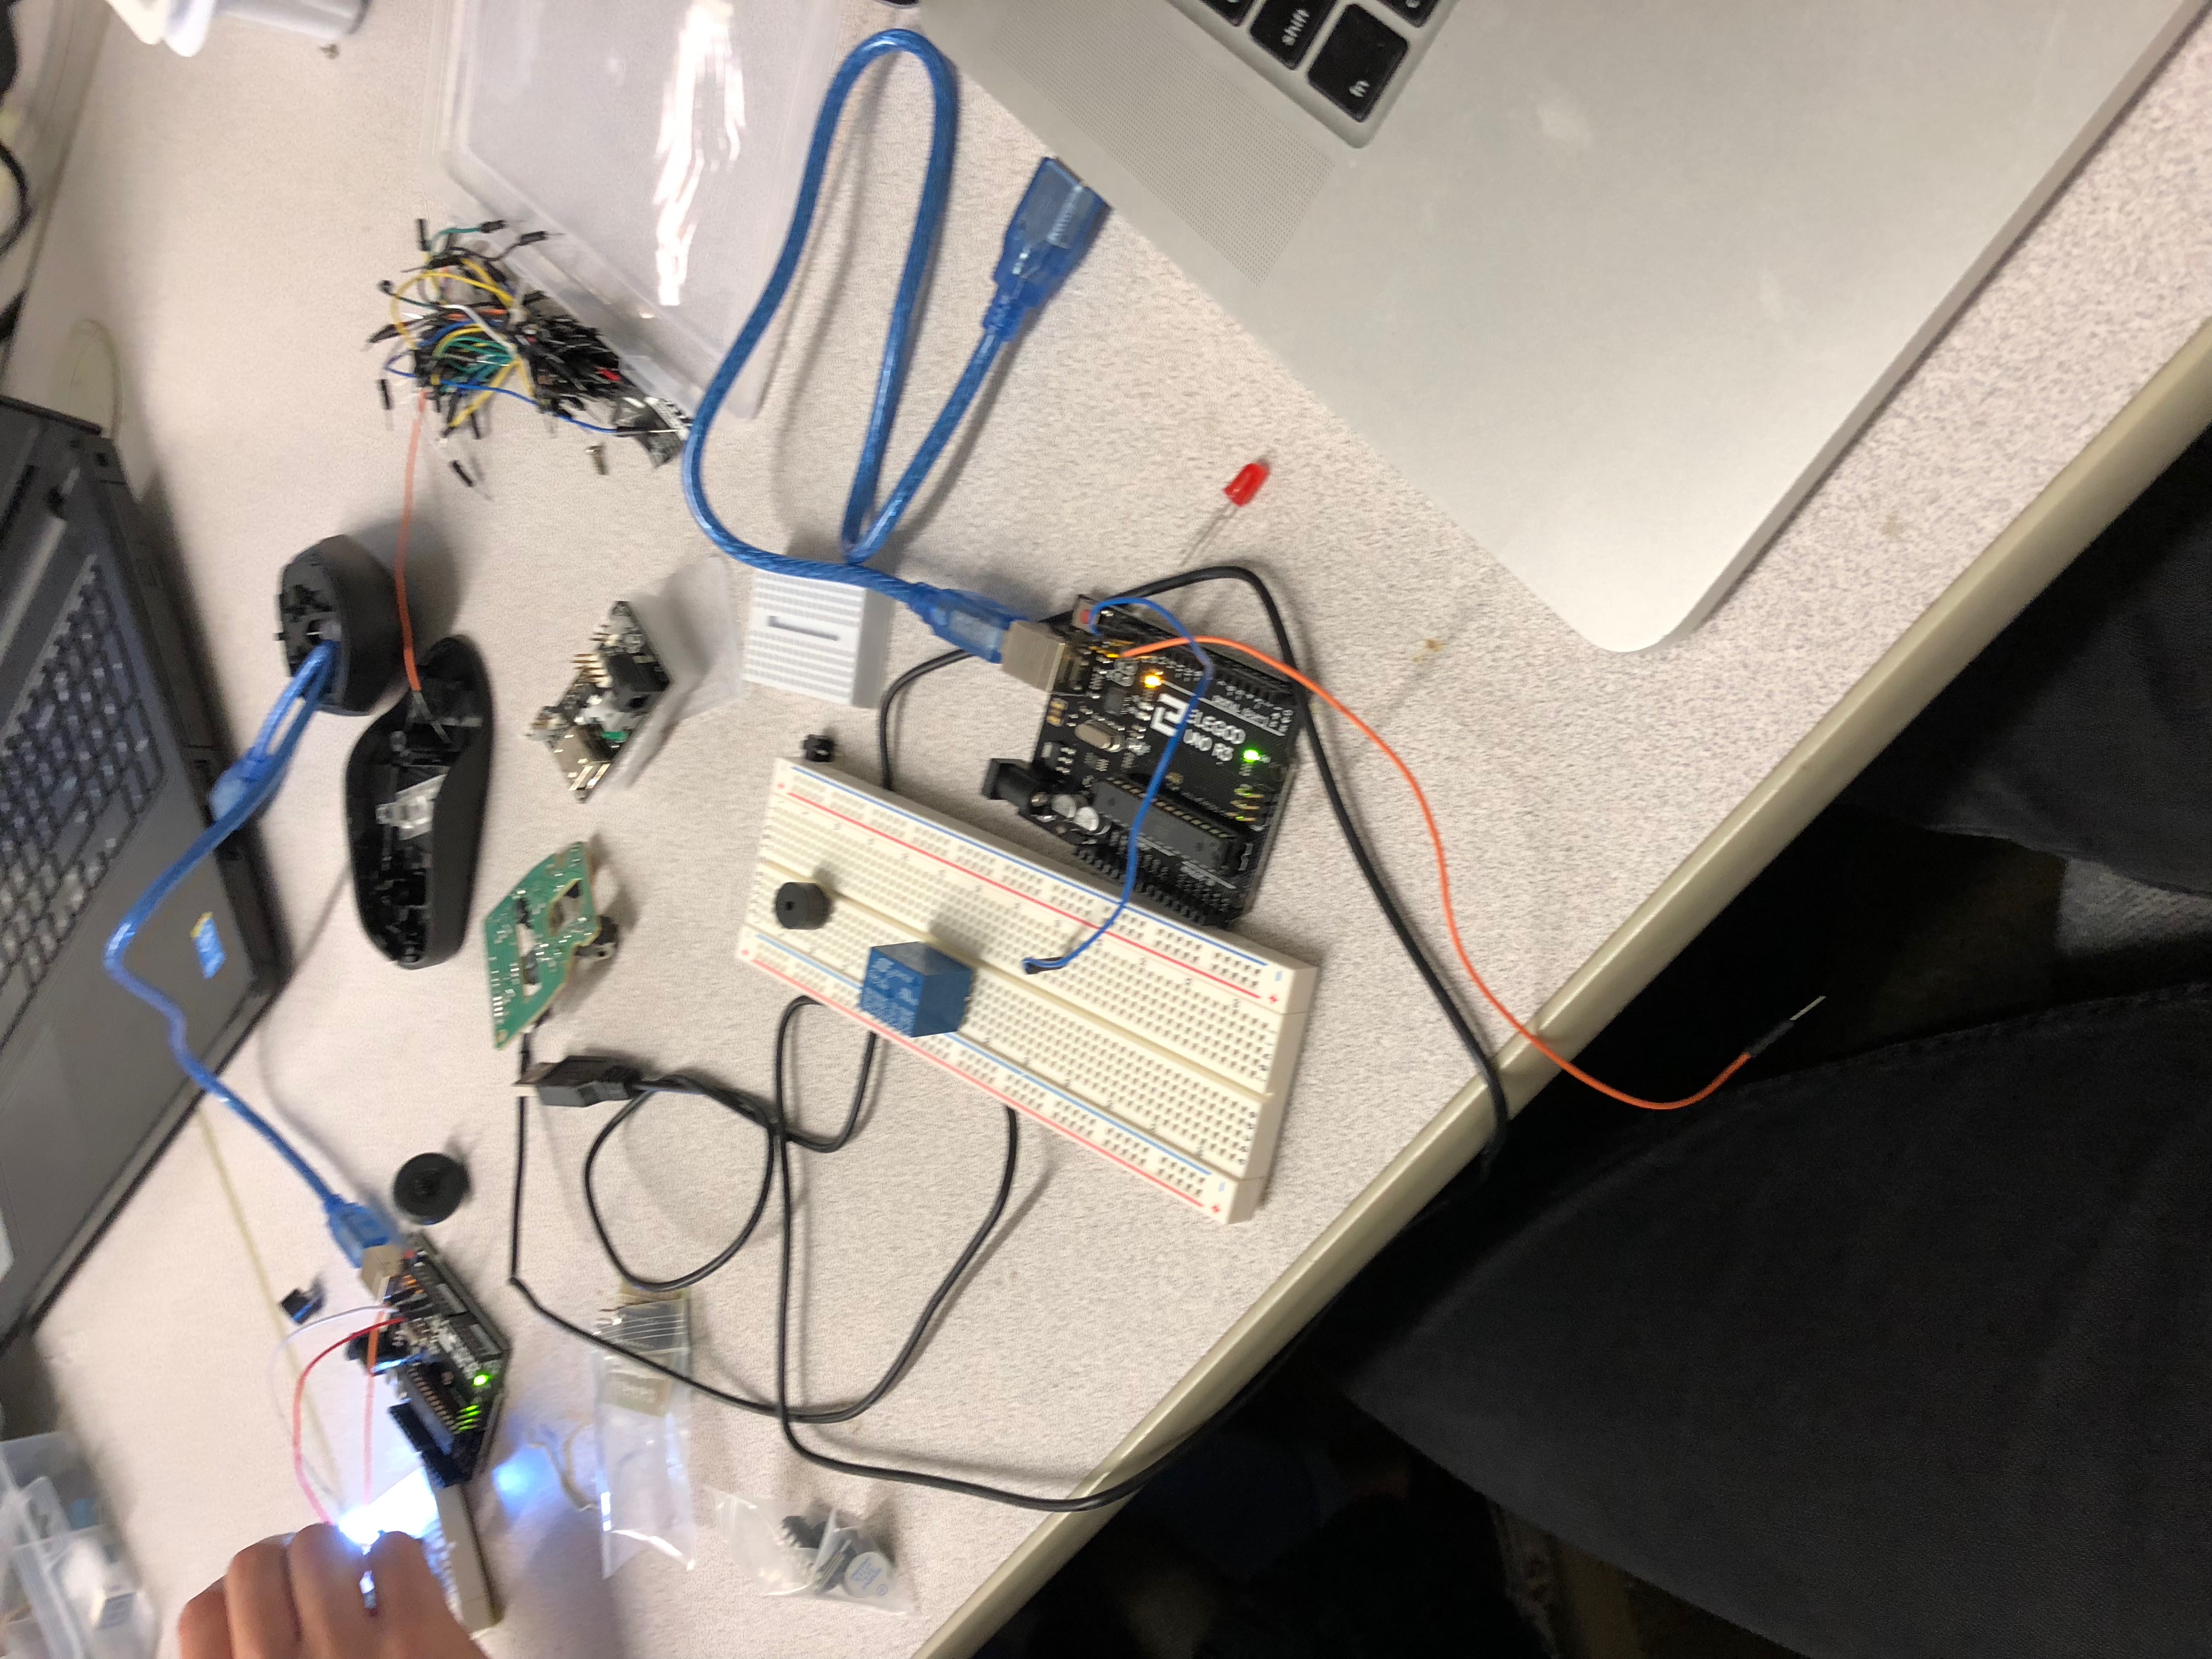
Documentation of Arduino setup:

I was able to successfully get my arduino to control look left, look right, and move forward.  Here was my wire setup:

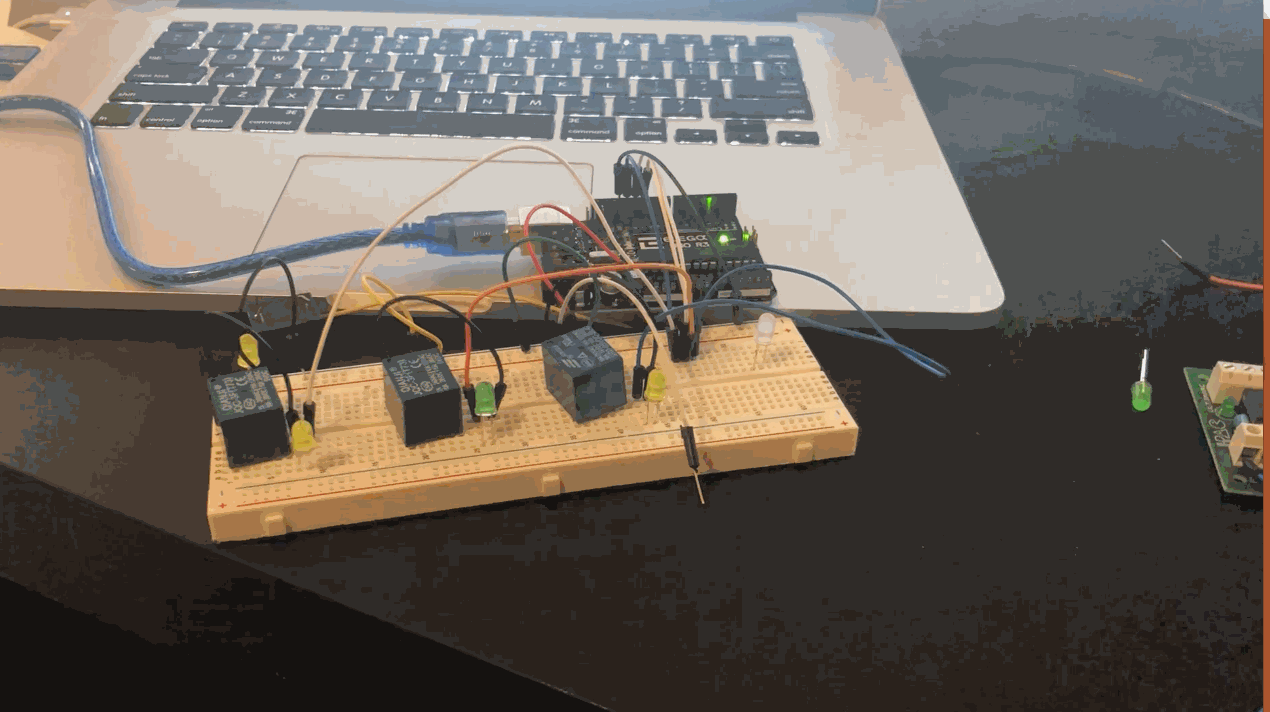
Here is the Arduino controlling the player in Doom with pre-defined times for each movement:

After I got this working, I decided to reduce the scope of my level.  In Run, the Arduino is simply pressing forward constantly.  This forces the user to passively experience the game.


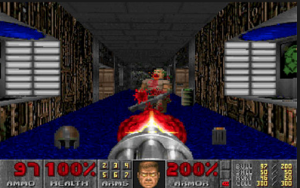
I got rid of the gun and added title text.  here is the simple script for text: 

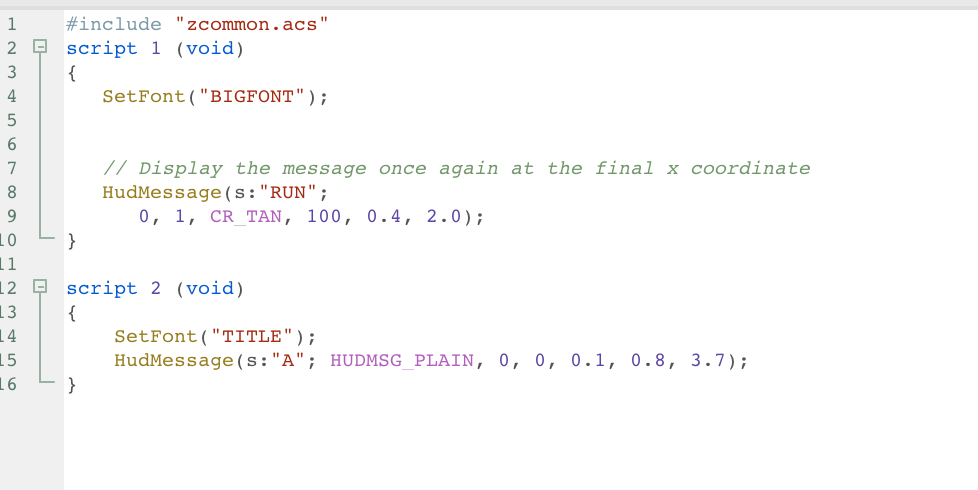
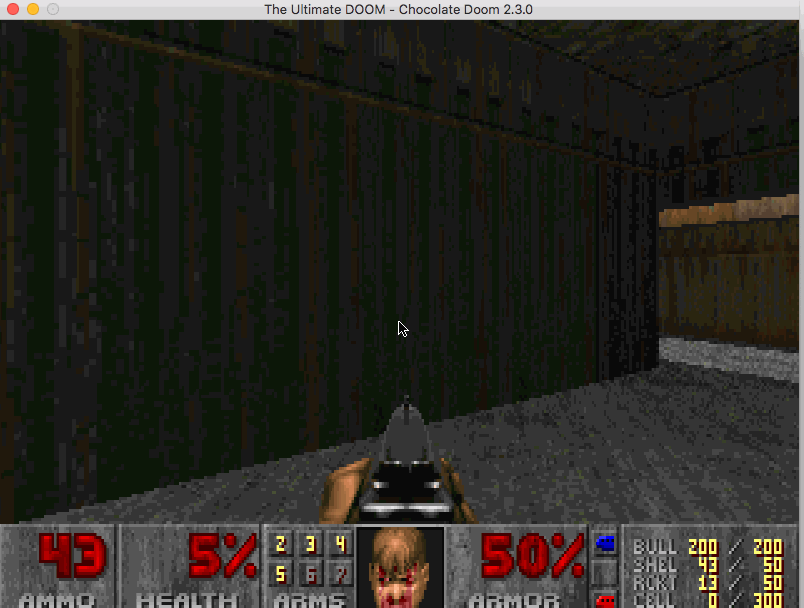
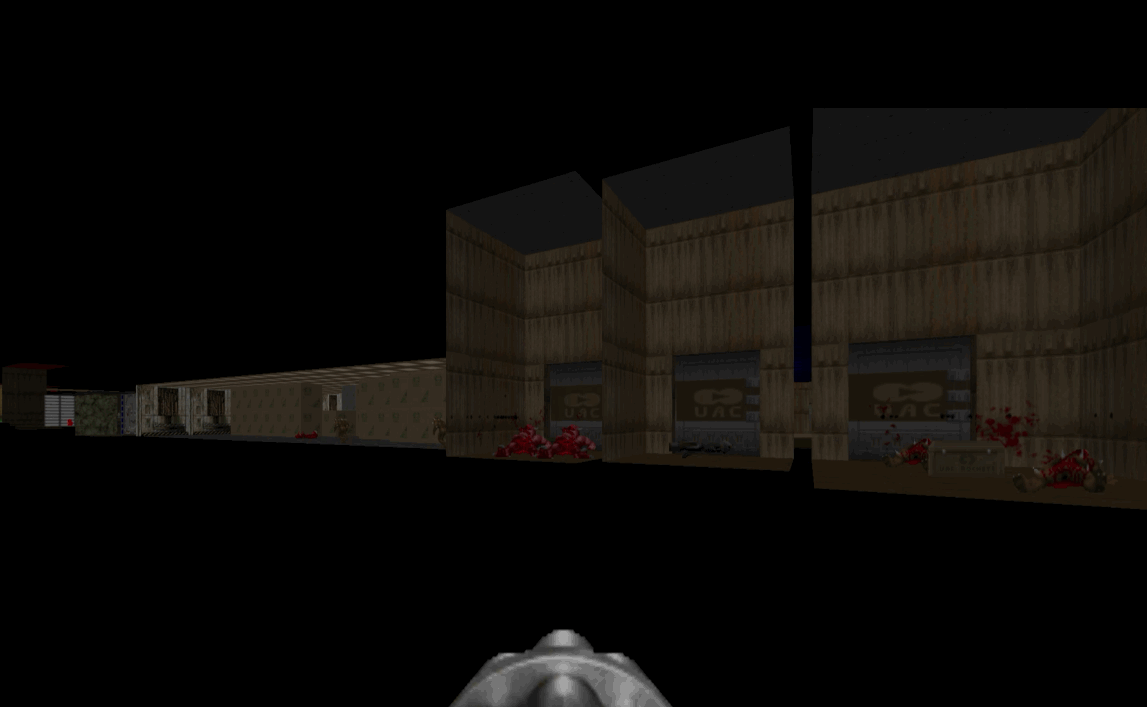
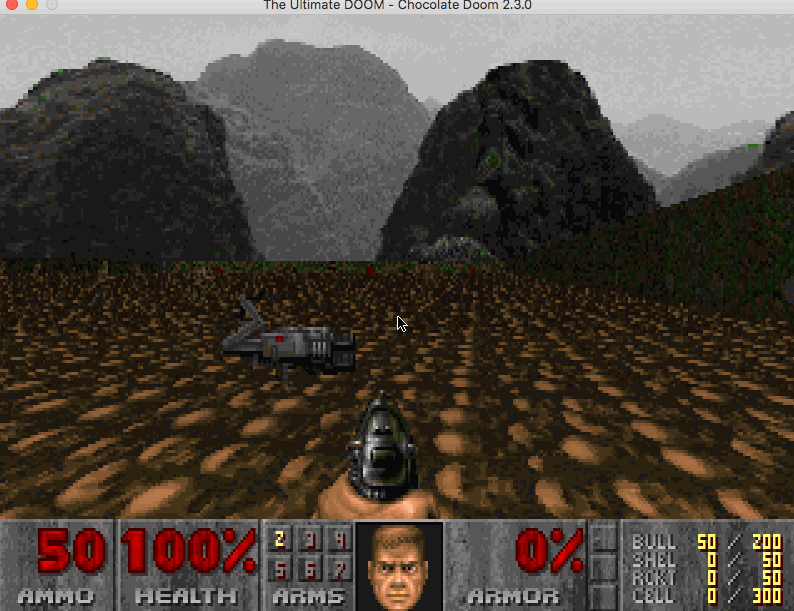
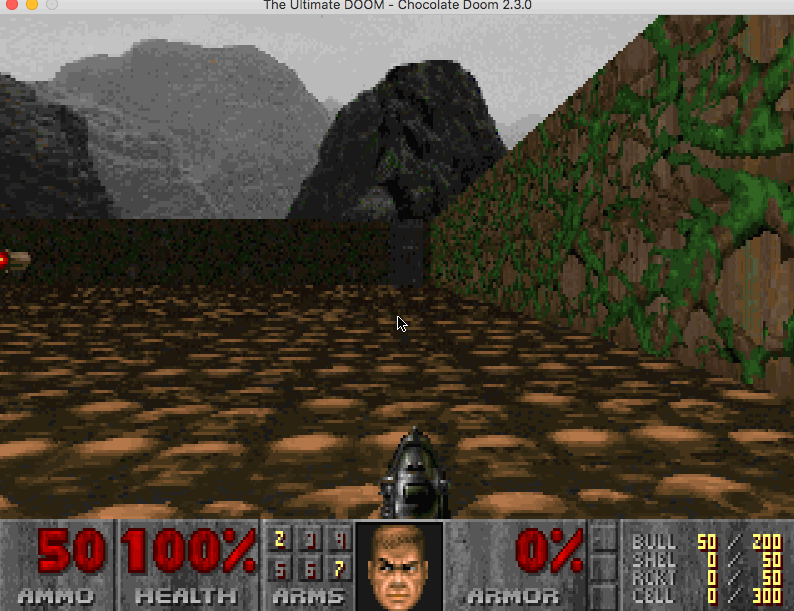
The player starts off in the corner and is constantly propelled forward.  They only control the look movement with the mouse.

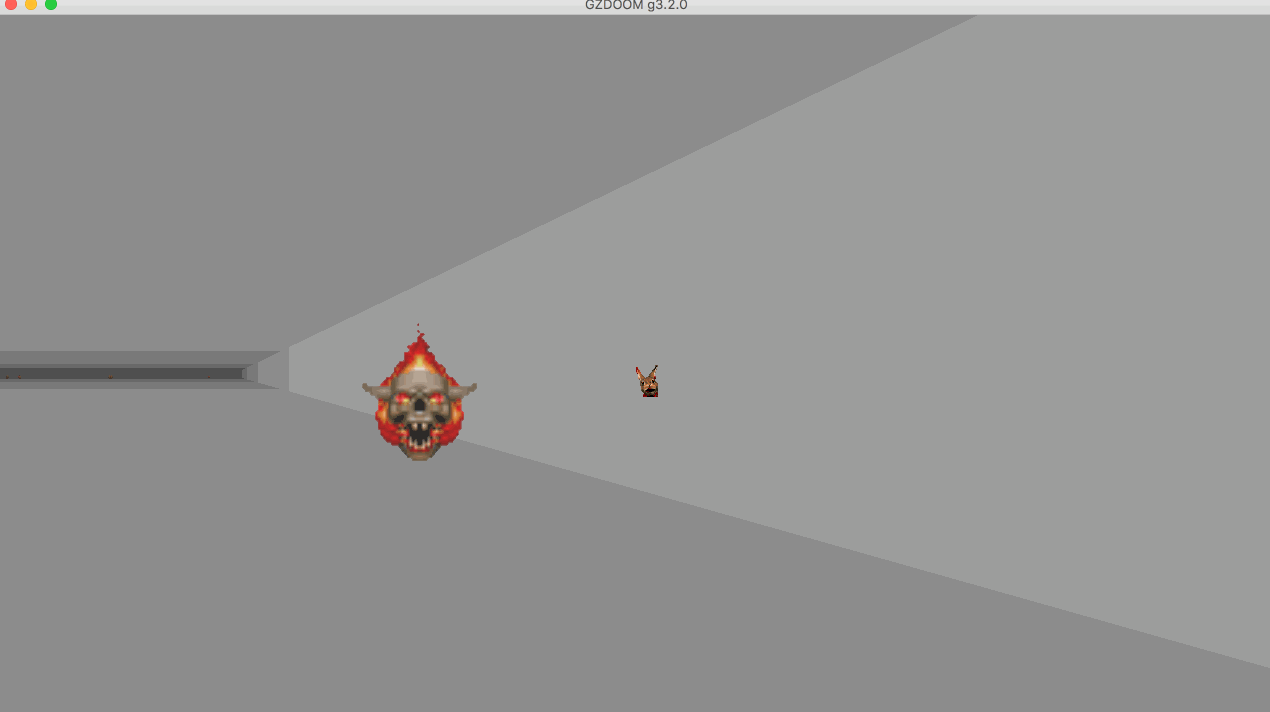
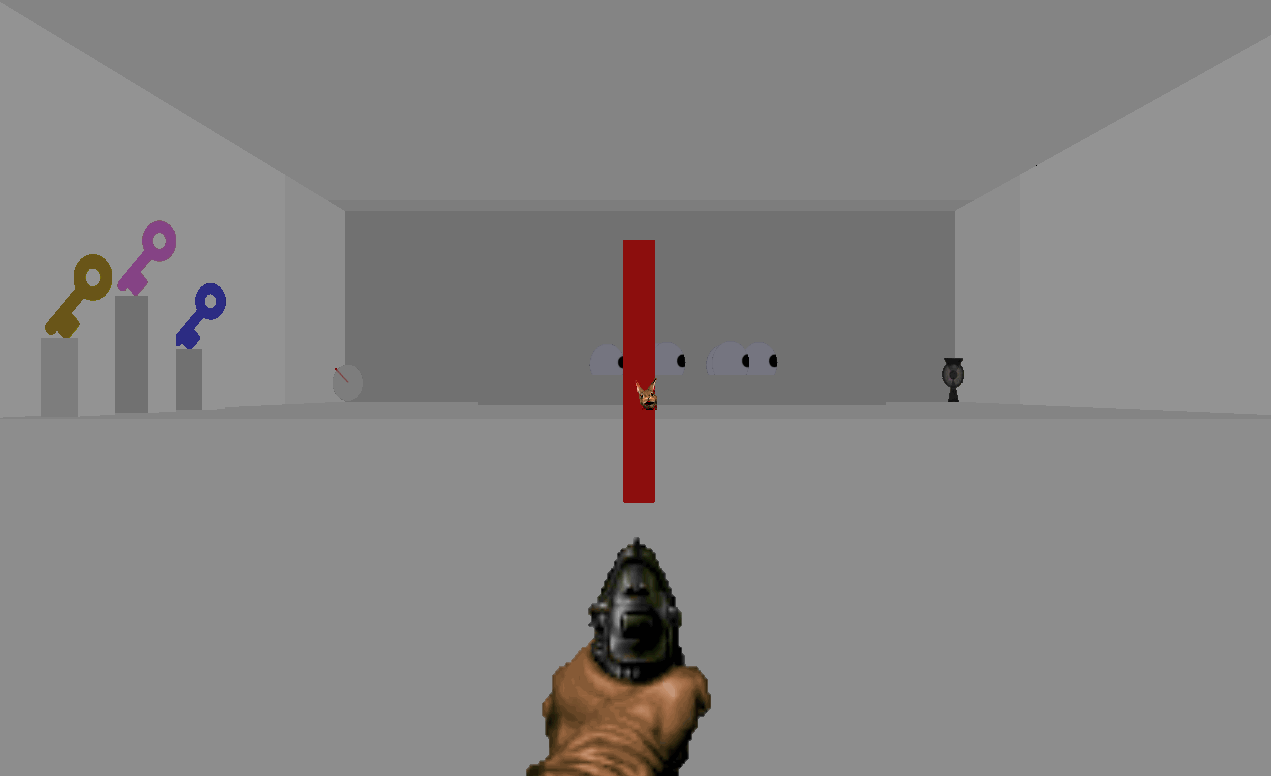
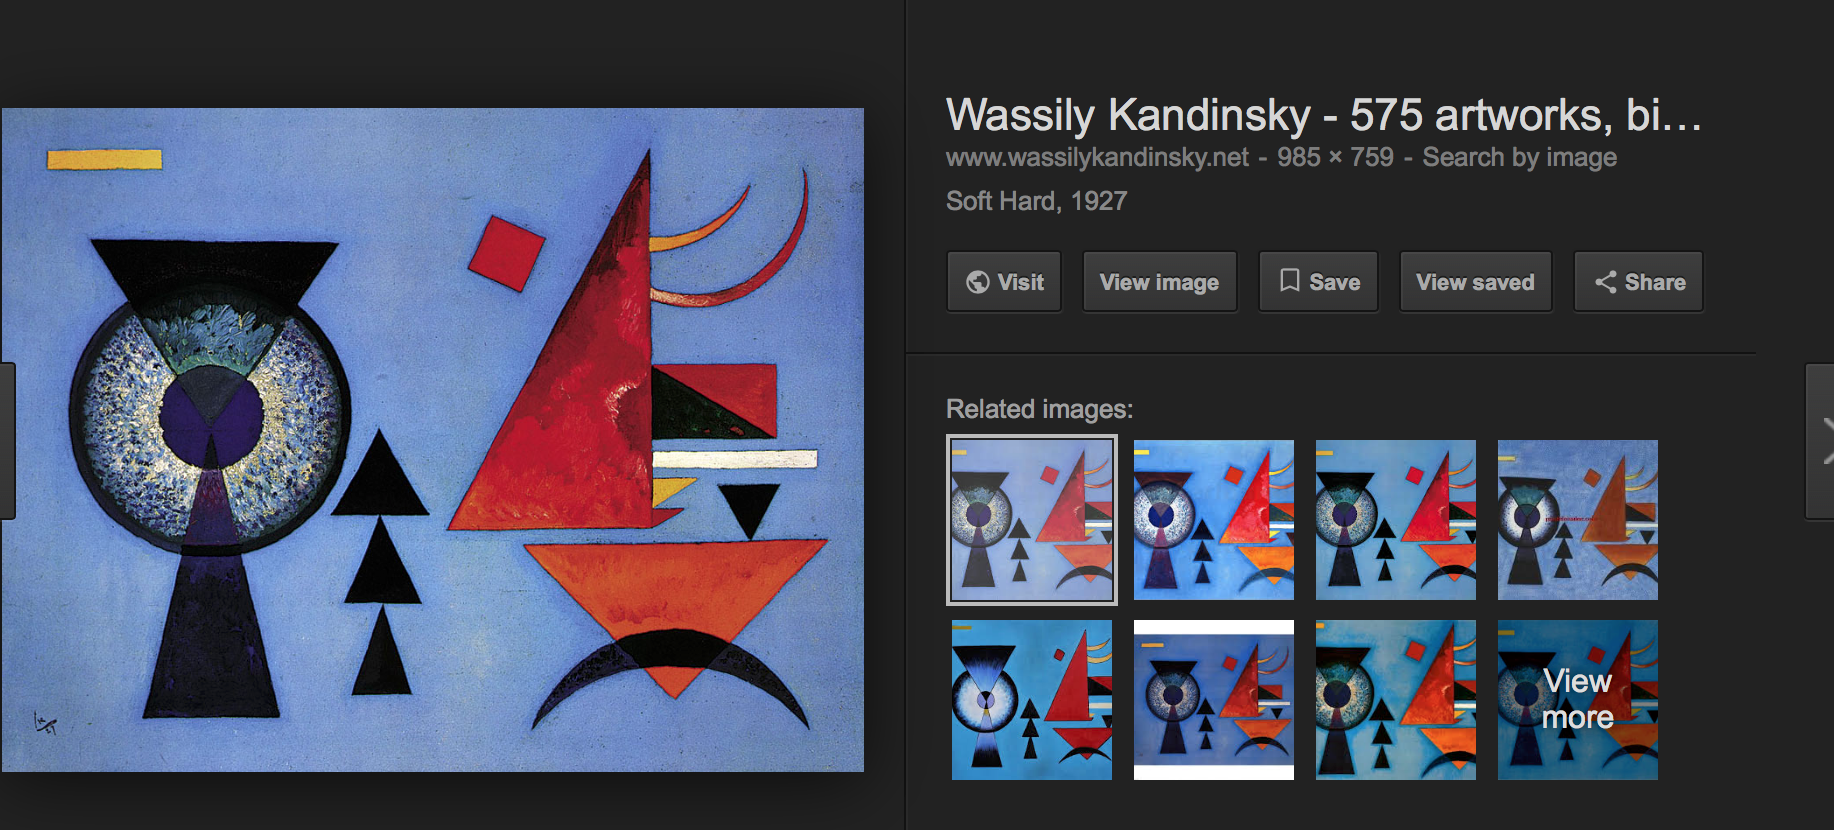
Art pieces are scattered throughout the map.  The user is forced to explore these, as they are propelled forward.

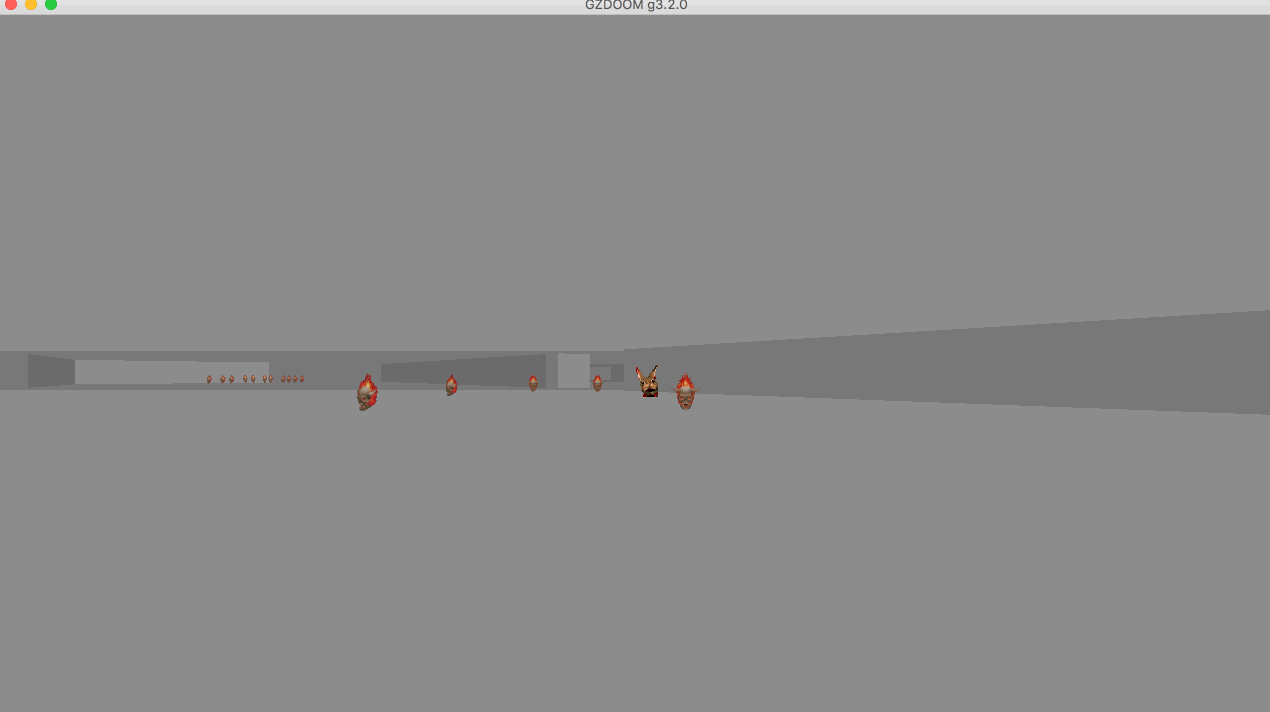
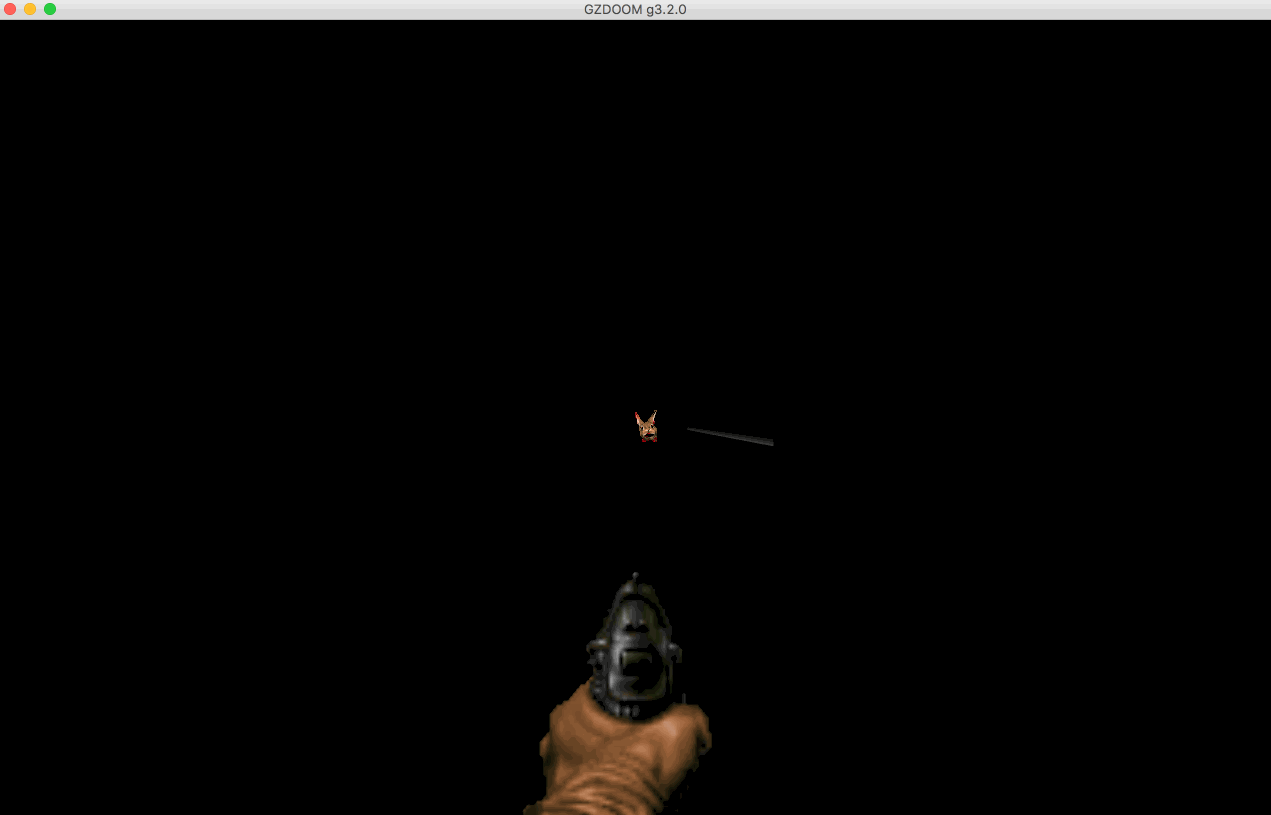
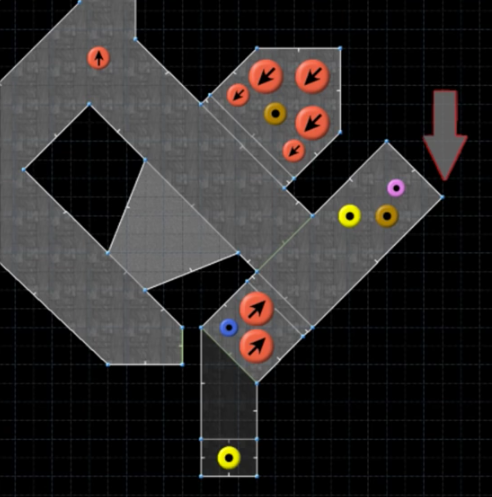
The climax of the level is a wide open room with several of the doom monsters spread out.  Comically happy music plays as the monsters attack each other and the player.  The player experiences the madness around him/her passively.  Eventually the player dies, or all the monsters kill each other and the player is left alone.


I enjoyed this project and especially appreciated the opportunity to get experience with the Arduino.  I will see some of you in the VR class!

Doom diary 9: Final Idea

My idea for the final project:

Title: The Simulation

Gameplay: The player is only sometimes in control of movement and the ability to shoot.

Narrative:  I really wanted to do a project with a narrative.  In this game, the player is in a simulation.  FEMA is the player’s guide.  FEMA shares control with the user.  FEMA delivers exposition to reveal more about what the simulation is.  The simulation is about sharing control.


I made a storyboard on my whiteboards.  The storyboard is set to the song Chrome Country by Oneohtrix Point Never:  The timestamps of when control is to be shifted is noted on 2nd picture.

k – Keyboard

ML – mouse look (may not be able to implement this)

MC – mouse click


FEMA art:

Inspiration: Zelda fairy


More art likely to be used:

Wall art in the simulation.

Target practice

Overlaid over screen.

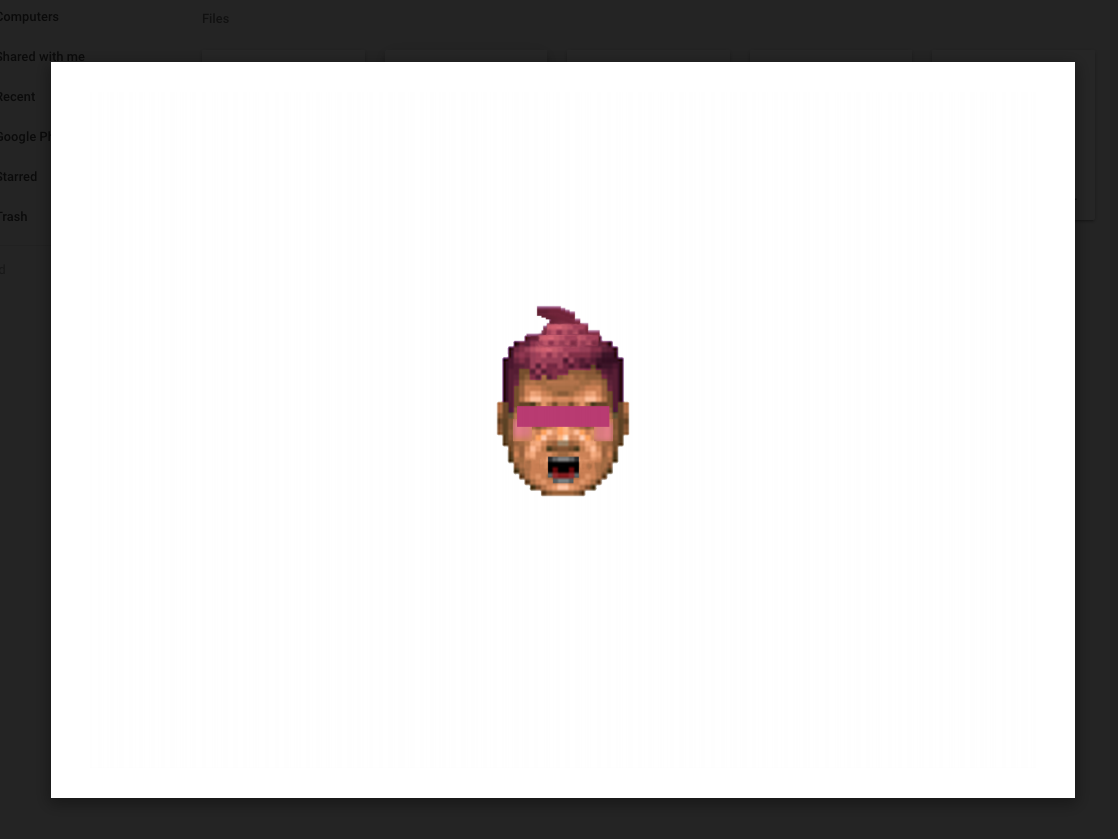
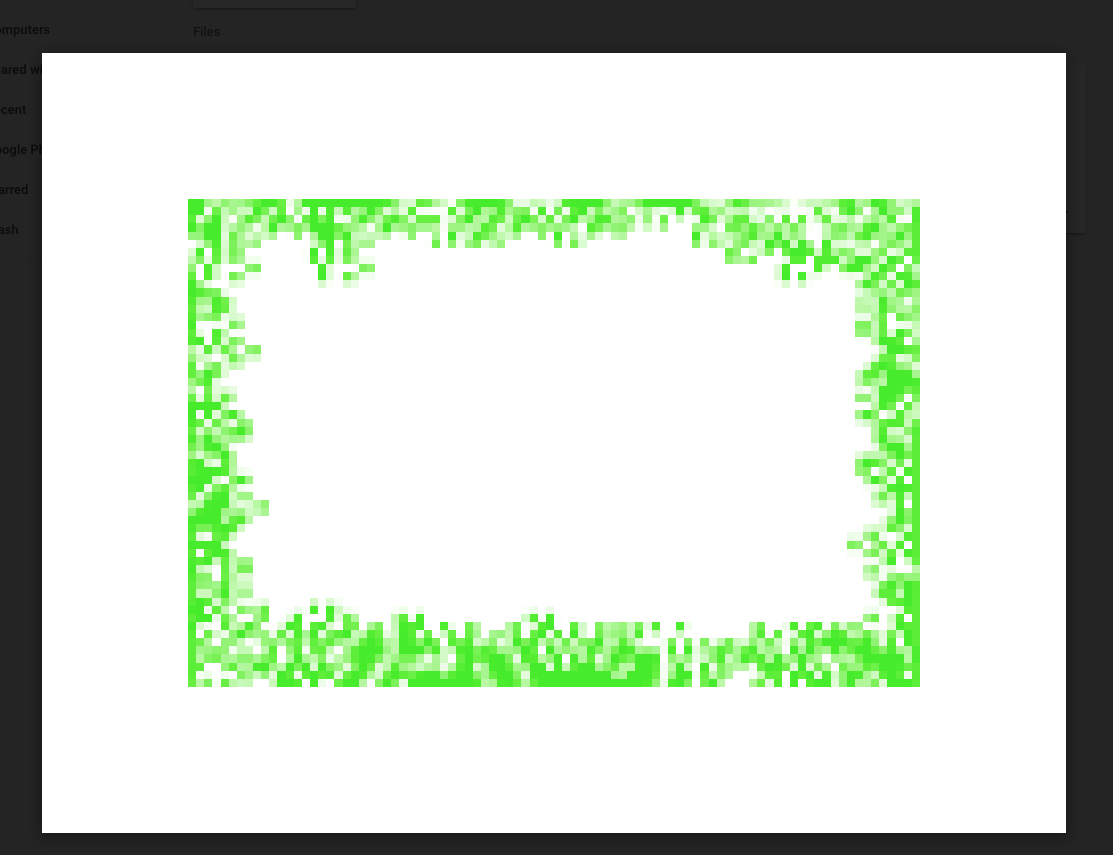
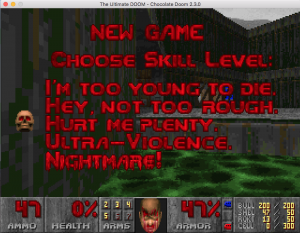
 Used to simulate load screen.


I plan to use the keyboard, Arduino, and  IPAC together to allow the player to lose and gain control.


I hope that I am able to execute on my vision for this game.  It is intended to be a closed experience with not much player action.  The player is experiencing the game more passively than most games.   With this said, one concern I have is the game not being fun, but I am still going to pursue this idea for the exercise in game narrative.


The lost blogs: Doom diary 8: hardware blog

I really enjoyed this week.  We modded a mouse click with an Arduino.

Equipment: soldering kit, amazon basics mouse, arduino kit.

The goal: connect the mouse to the Arduino so we can click the mouse through software.


To start off, I disassembled the mouse.  This is what the mouse looks like with the plastic shell taken off:


Next, I had to take off the old clicker connected to the mouse board.  This was done by heading up the solder on the mouse, then sucking it off the board.  After all the solder was gone, I could remove the clicker. (picture shows clicker removed):

Now that the clicker was removed, I could connect it to the Arduino.  To do this, I used a bread board, and connected the pins that used to go to the clicker to the Arduino.  Now I could control when clicks happen with the Arduino!

This project inspired me to use the Arduino for an idea I had for the final project in which the player is only partially in control of the movement in the game.  The Arduino (in conjunction with an IPAC) will control the player on the screen.

The lost blogs: Doom diary 2

I realized I missed some blog posts, so I will post them now.

On week 2 we toured Doom with cheat codes.

My favorite cheat code by far is the no clip cheat code, which allows the player to walk through walls (see amber’s gif below):

I was so fascinated by this, in fact, I decided to choose a speed running level in which the player glitches outside of the map similar to this cheat code (see below):

Playing through the game with cheat codes made the game much easier to complete.  I enabled invisibility and unlimited ammo, which allowed me to explore the level design throughout the game.

I believe that this week’s assignment to play through the entire game gave me a broad understanding of doom, which  allowed me to create better projects throughout the course.  For example my Kandinsky homage wad relied upon a complete understanding of doom in order to boil it down to its most abstract notes.  Also the divergences from Doom’s original gameplay through changed textures and characters are deliberate because of the understanding I gained from playing through the entire game during this week.


Kandinsky Homage

This week I attempted to make an art piece in Doom.  Here it is:

The Wad is titled KandinskyHomage.wad.  I used This photo as inspiration:

The player starts off directly in front of a red rectangle.  When the player walks over it it becomes their gun.  This was done to make every angle within the game feel like an abstract art piece.  The player can stop at any moment and view what they are looking at as an abstract art piece.

The background music is from the film Under the Skin.  The track is titled “love”, though it is love through the context of a horror movie.  I believe the music feels makes the user feel anxious, while not being erratic like most anxious music is.

Front and center of the map is a raised area which houses several eye NPCs.  These are meant to make the player feel like they are being looked at.

In the right corner is a portion from the above Kandinsky artwork, which looks like another eye staring at the player.

In the left corner is a spinning clock.  This is meant to increase the anxiety found in the music.


On the left hand wall are three keys, meant to be an abstraction of the doom series and games as a whole.

I enjoyed this project and hope to focus more on fun gameplay in future projects.

Doom Week 5: Light

For my project for week 5 I created a map called Light.  Here is the quick play though:

I wish it could have been longer, but due to issues with getting it to work with chocolate doom this is what I presented in class.

It is intended to make the user experience light being split from a prism, as seen below:

The use is introduced to the level with a sliver of light, drawn towards it.  Everything is completely dark except for that light until the player reaches the triangle at the center of the map, where the different colors of a light beam are introduced.

Here is the layout for the map.

As I get better at modding Doom, I would love to be able to add glitches to my levels such as forcing to player to no clip out of the map.  This was my original intention for this level, and I plan on adding this functionality in my later creations.

Overall I am finding the process of converting Doom into a custom game through adding new textures to be fascinating, and look forward to using more tools to alter Doom.

Creating “The Arena”

For my level, I wanted to create a large arena full of monsters that the player must traverse through.

First, I created a large room and changed the textures to make the level feel like an outdoor arena.  This was accomplished by cobblestone floor textures, vine walls, and the skybox texture for the ceiling.

The arena is filled with every monster available, including multiple bosses in the corners.

I wanted the force the user to dodge the enemies rather than attacking.  To do this, I scatter only a few weapons throughout the map.

I wanted to participate in Doom’s secret culture.  I originally intended on the user picking up keys throughout the arena, only being able to escape if they have collected all three.  Instead of this, I made the exit a secret, which forces the user to explore the arena further than they would with only keys and incorporates the idea of a secret solution found throughout doom.

This is the secret exit:

It is a mysterious monolith in the corner of the map guarded by a spider demon.

This secret ending, sparse ammunition, and large number of monsters is intended to keep the player move and create a fun and rage-filled experience.


The Void Glide in m2e6

For my speed run project I decided to go with e2m6.  I was drawn to this level because it takes advantage of a glitch in which the player escapes the boundaries of the map and walks directly to the exit.

The glitch works because this one of the only spots in the game where two walls meet at a 45 degree angle, as seen in the image below.  This somehow makes the boundary weaker, and the player can SR50 outside the map if you ram doom guy at the perfect angle in the 45 degree corner.

Once you are outside of the map, you can view the monsters (see gif at top of post).  Interestingly, they cannot see doom guy, and only react to the sound of his gunshot.  Doom guy cannot kill any of the monsters from outside the map.

After you have explored the outside of the map for a bit, and are ready to complete the mission, you must hit the exit button from behind the wall it is situated.  This is by far the most challenging part of the speed run. At first I spent at least 5 minutes every run trying to click it and eventually found quicker methods, though it still can take me up to 2 minutes to successfully push the button.


Overall, this level is fascinating to speed run because it exhibits the doom communities ability to share knowledge about exploits and build on that knowledge to find a successful speed run.

Doom first play through

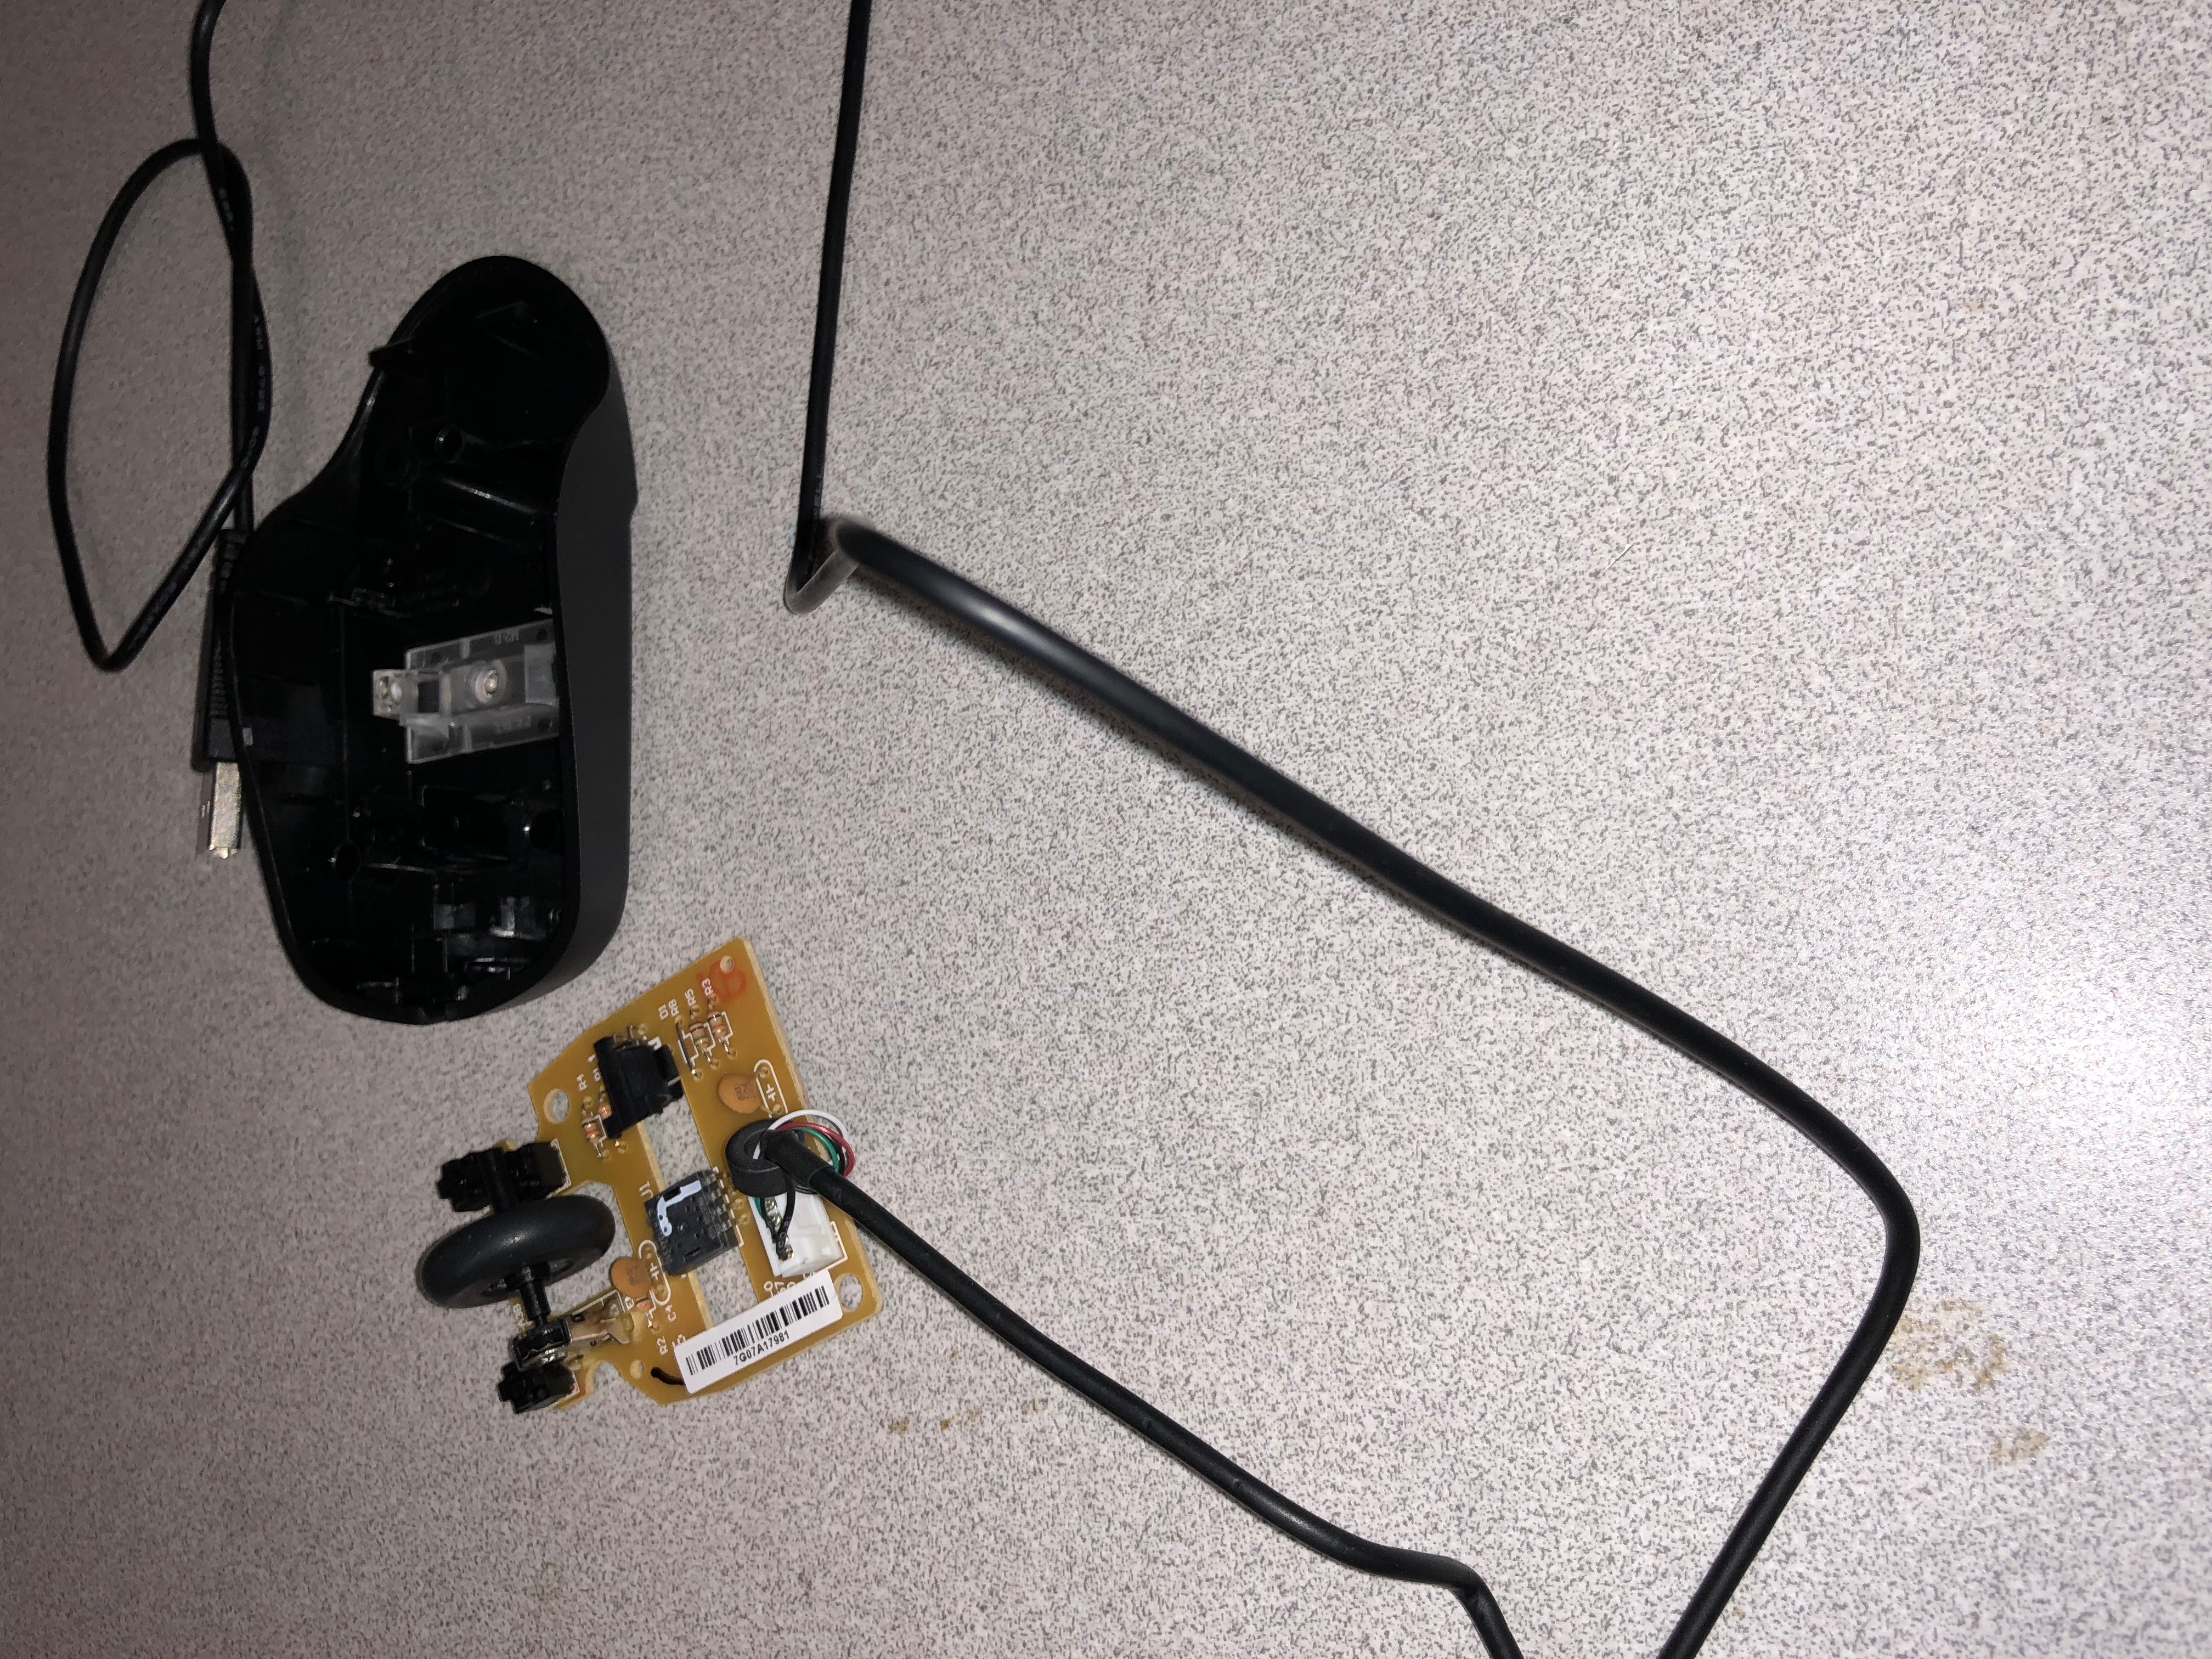
For my write-up I will be sharing some general thoughts, then focusing on the “Phobos lab” level

I chose the difficulty “Hurt me plenty.”  Since this mainly effects the attitude of the monsters and ammo, I was happy picking this setting.  Monsters were frightening and engaging.

Generally, the game has a very good flow.  The player moves swiftly and the gets used to killing enemies effortlessly.

At times the game could be frustrating, like when I had killed all the monsters but couldn’t find a necessary key (see GIF).

Overall the game has a great design.  The colors all work well together, and the blue chosen is especially striking.  Horror elements like flashing lights are also well done.  The sound design has become a classic, and I now retroactive understand many online references that have come from its iconic sound and music.


PHOBOS LAB:

The player enters phobos lab to a shift in music.  It signifies the increase in difficulty.  The player is introduced to a new game element, the invisible monster.  These monsters come up frequently and are sprinkled in with the other monsters throughout the level.  The level ends with a completely dark room covered with enemies – a great instance of the games’ fantastic horror elements.