Doom Diary 7: Soldering and Arduinos

I really enjoyed what we learned during the hardware day because it added a lot of possibilities to the things we can do for Doom modding. Being able to create a personalized way of interacting with a game makes it so much more immersive.

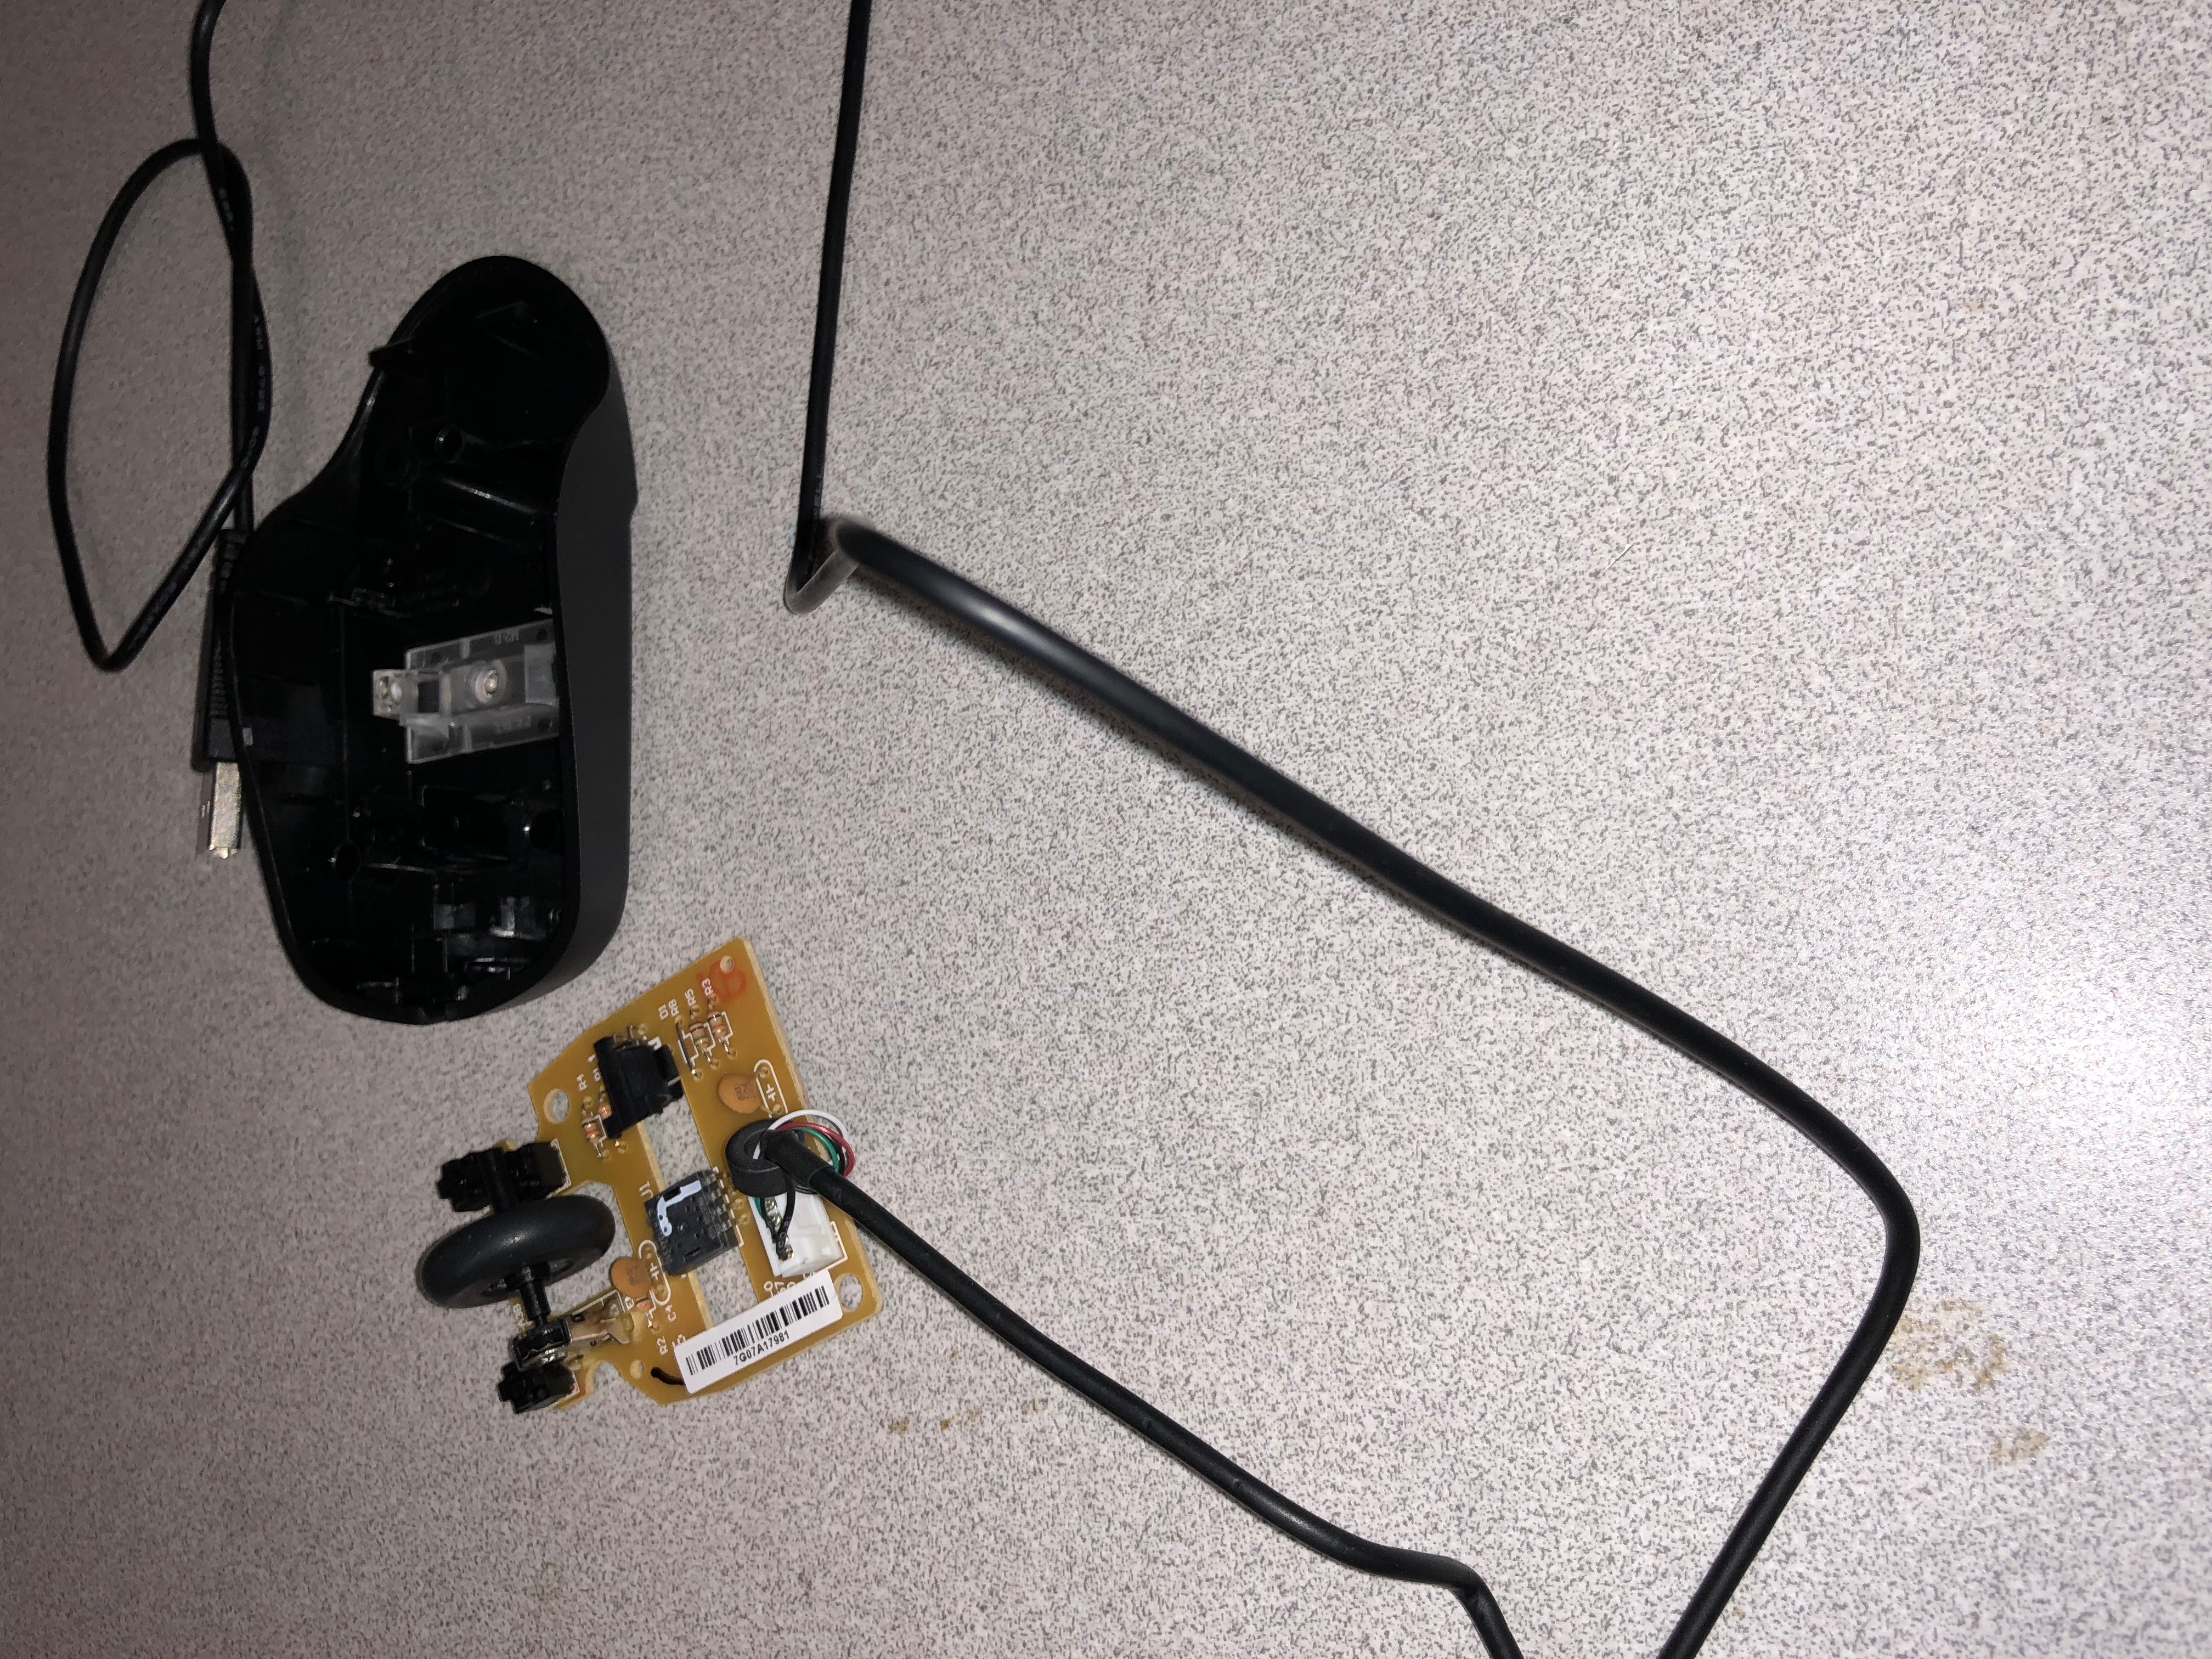
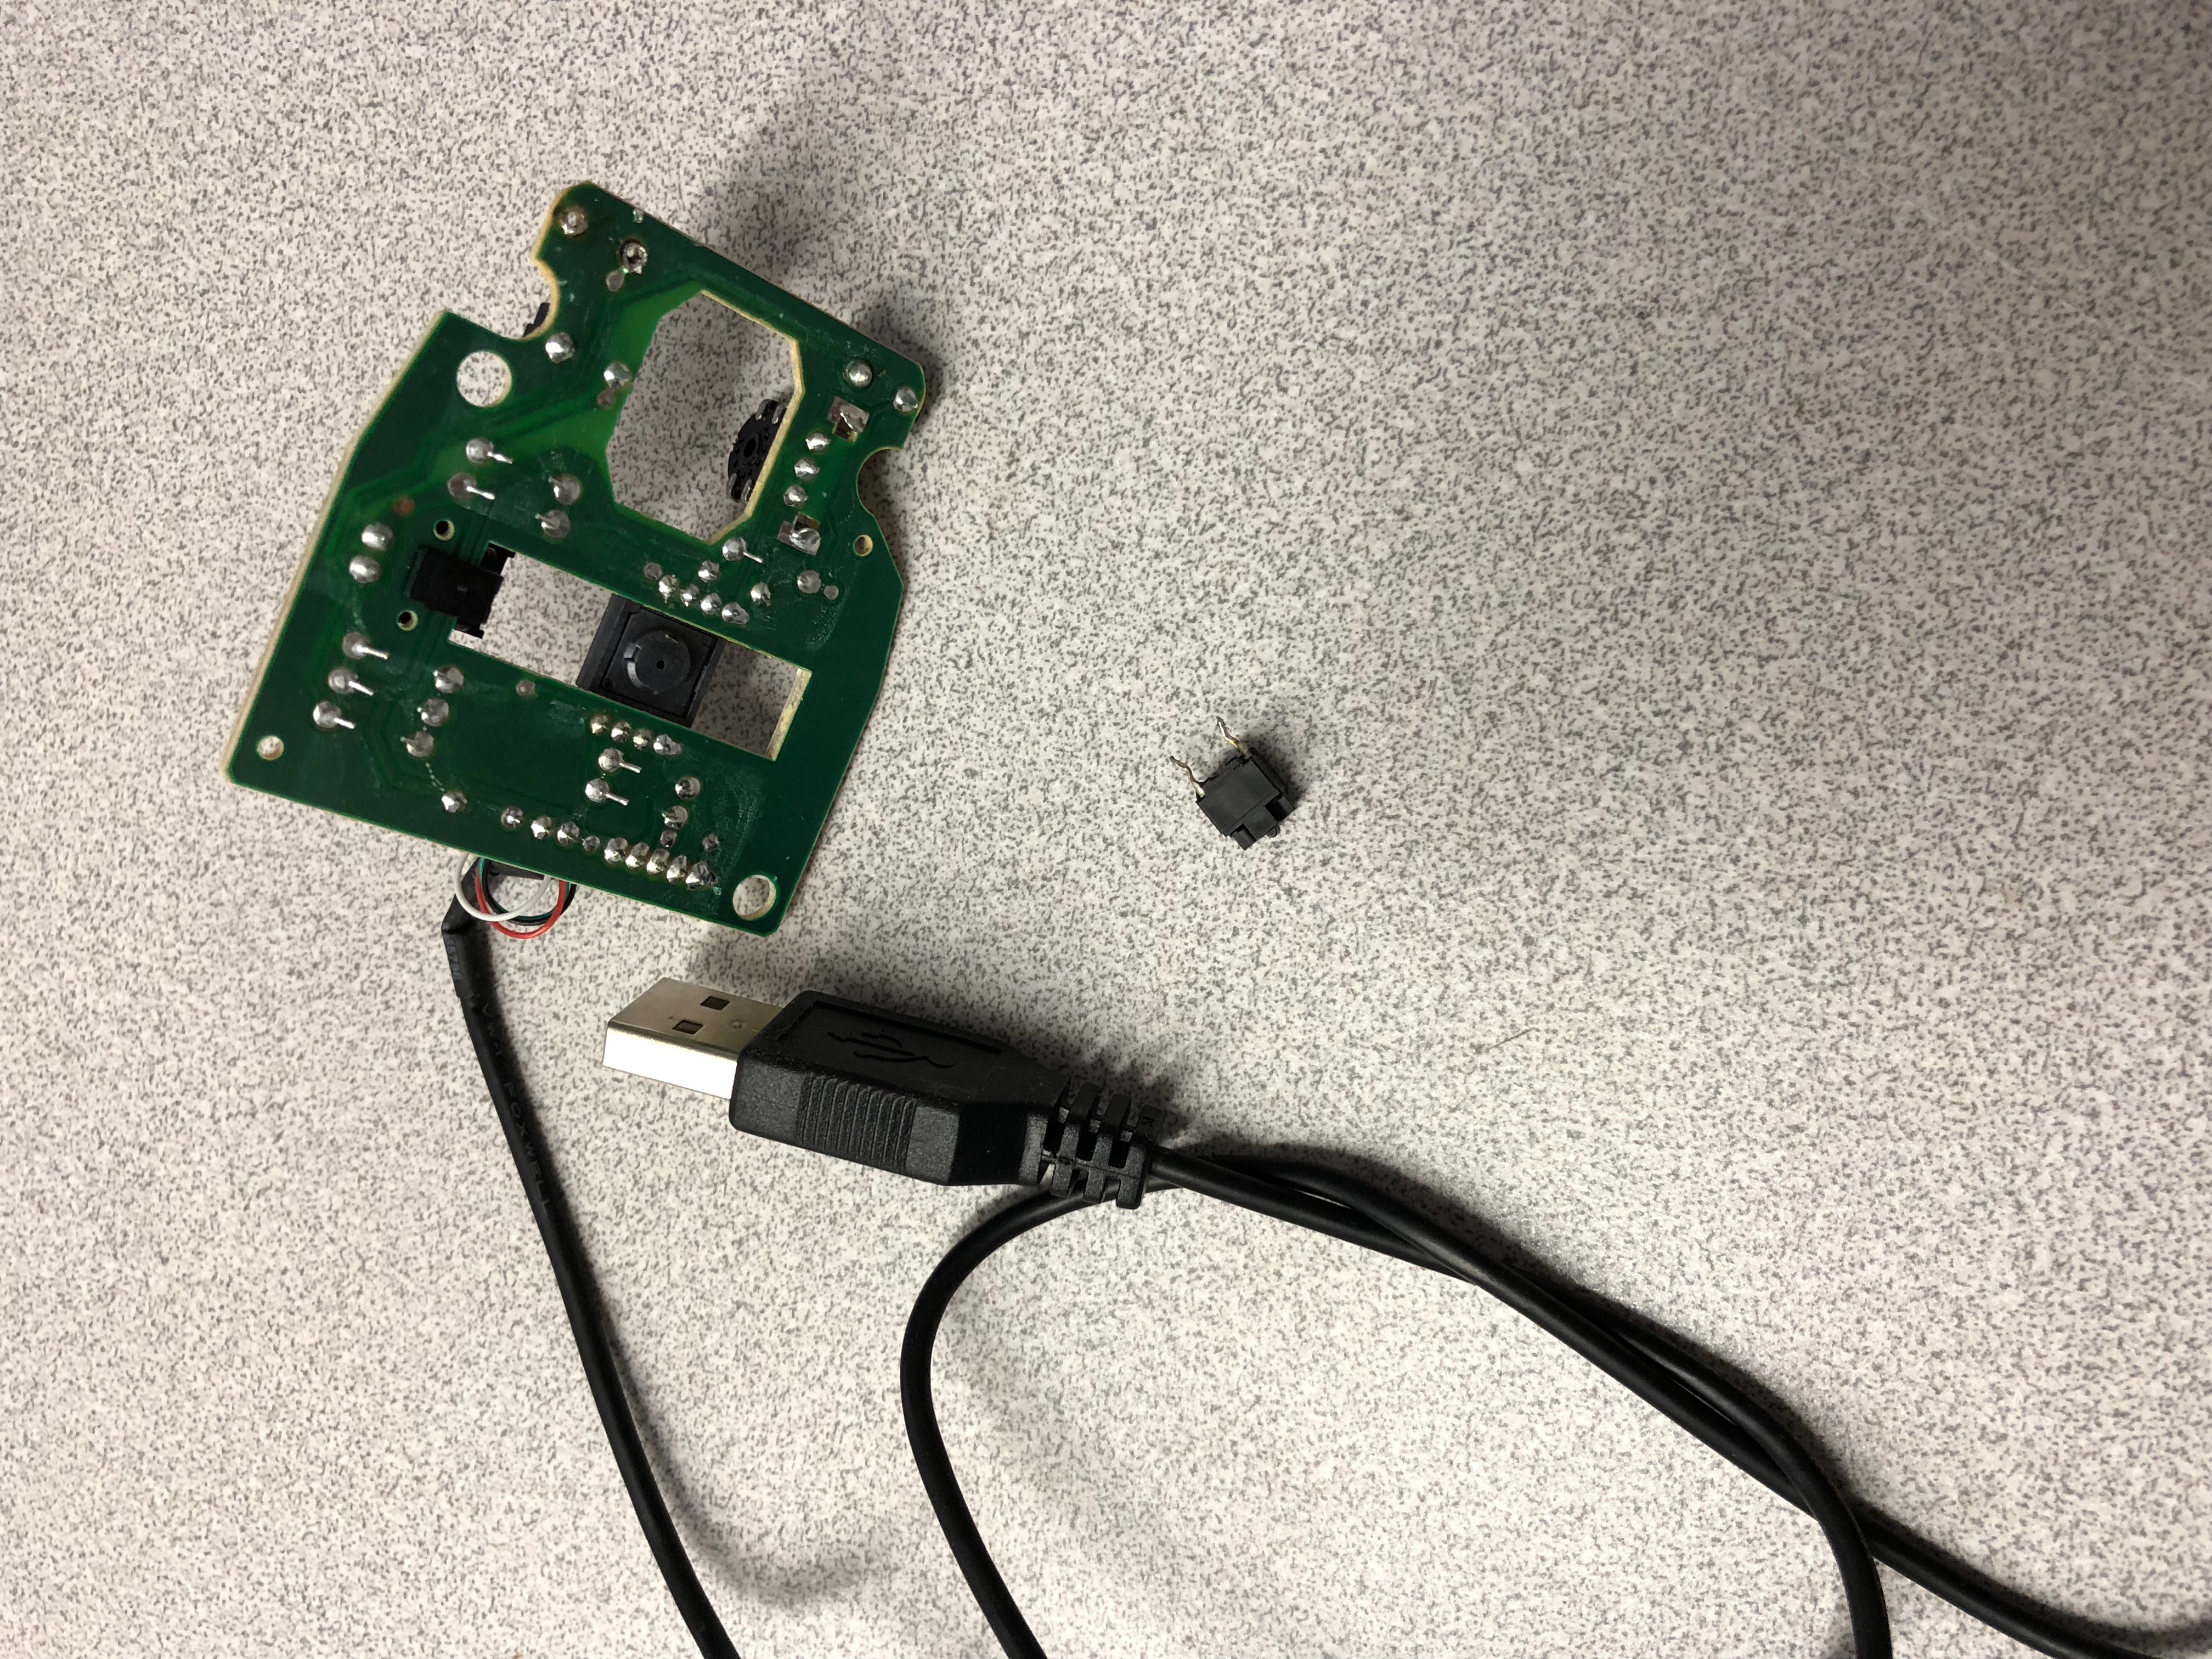
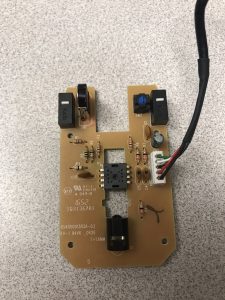
Learning how to solder was fun, I wasn’t very good at it because I couldn’t melt off enough of the solder. Even though I wasn’t good at it this first time, i think that if i ever had to mod anything electrical in the future I would be able to do it myself.  Whenever I use any type of electrical device, I never really think of how the components of it can be taken apart or re-purposed so it was interesting to think about that this week.

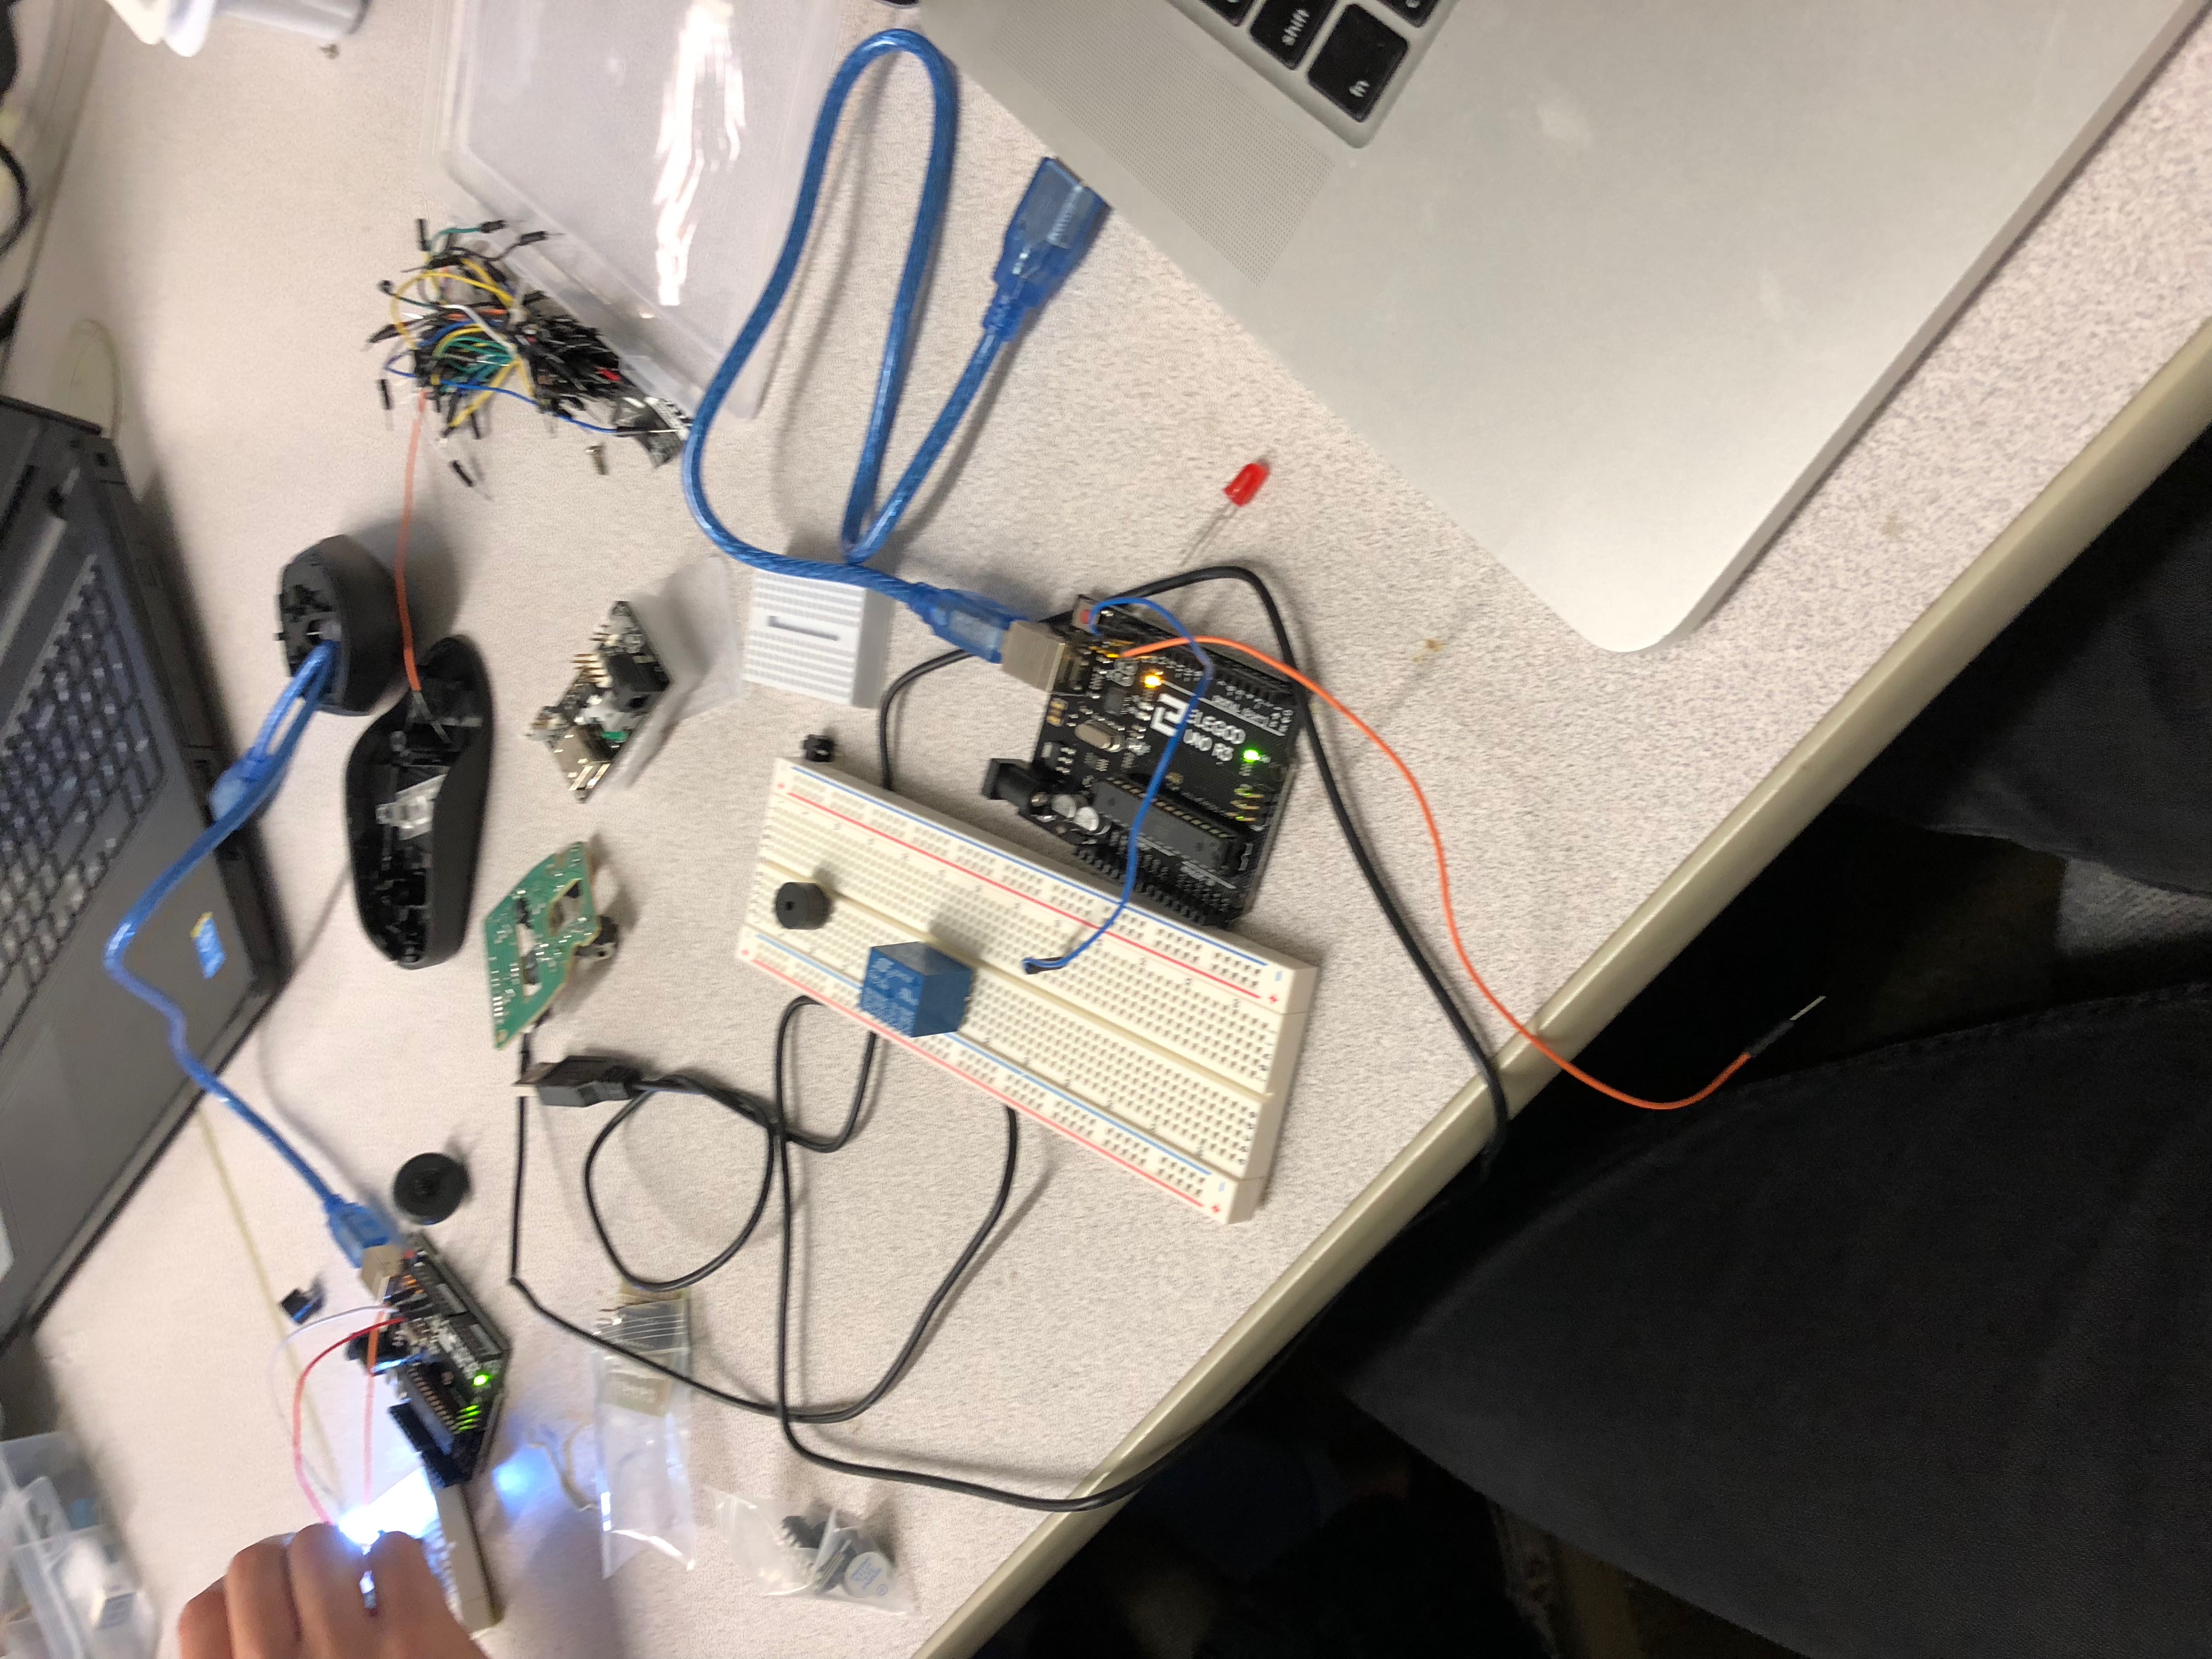
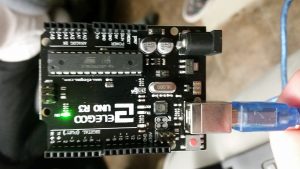
We didn’t spend very much time with the Arduino, but I got a small script to run on multiple LED’s. I’ll probably try to learn to use the Arduino in the future because it’s cool how it allows you a way to instruct and communicate with a physical component. 

Arduino stuff! (catching up on blog posts #1)

Here’s me trying to catch up on everything from this quarter and doing old blog posts:

Arduino work was super fun and super inspirational for my final project! I mentioned in class I wanted my final project to incorporate a microphone in which the deer in my game would scatter if the input is too loud. Turns out this was (relatively) simple from both the hardware and software perspective!

Here was my process:

sensors_2013_01_12_IMG_1157-1024.jpgsensors_2013_01_12_IMG_1162-1024.jpg

There was the part I needed and its accompanying circuit, and here was the code that I found online that goes with it:

  1. while (millis() startMillis < sampleWindow)
  2. {
  3. sample = analogRead(0);
  4. if (sample < 1024) // toss out spurious readings
  5. {
  6. if (sample > signalMax)
  7. {
  8. signalMax = sample; // save just the max levels
  9. }
  10. else if (sample < signalMin)
  11. {
  12. signalMin = sample; // save just the min levels
  13. }
  14. }
  15. }

Basically, in a given sample time frame, it finds the maximum and minimum of a given input single and later converts that into volts and prints it on the screen. The hardest part about incorporating this into my final project will be finding a button to map it to (I may have to use the I-PAC in this case, as I currently am using the left, middle, and right click options on a mouse).

As for the scripting on the DOOM part of it, there is a command I used called Thing_Hate that is exactly what I needed. It was a little annoying getting there though because in order to implement it one has to run a doom script, and in order to do that one has to have the right map format, which caused me to look for the right converter and right format to have a map in. For now I just have the deer sprites hate an arbitrary thing in my map when the user presses the “use” button, but hopefully I can map the microphone input to a button and then have that activate the script!

working with hardware! (final project progress)

I spent time this weekend trying to work on my final project’s hardware. My plan is to wire a cassette player to work as the game controller. More specifically, I decided that pressing the “play” button would function as the “shoot” button in the level, with the rewind and fast forward buttons being mapped to looking left or right. Currently, the play button works but I have to change stuff up a bit to work on the other two! Here’s my process:

I think after taking a part the player my main issue was planning how to get a switch or button to fit in the hardware. The buttons the way they were on the player weren’t actually connected to the circuit board, they mechanically move the gears. Because of that I needed to find a way to attach something to one of the moving parts when the button was pressed to press one of the mouse components. That was fairly do-able for the play button, there was a metal piece that came down upon pressing it where I was able to add a small piece of solder wire to:

after putting in the solder wire I just hot glued one of the mouse buttons to the button of the case, just about where the wire ends up if you press down the play button. It’s REALLY crude, but it works!! check it out:

This is where things stopped sailing so smoothly….

There isnt really a position where the rewind/fastforward buttons have enough space to allow me to put in a piece of wire and press a button.. I then moved to trying to just connect two pieces of wire but my tools were limited for such a small space and I haven’t had much luck yet. Also, I ended up destroying the solder pad of two of the mouse buttons passed the point of fixing them. I’ve looked up that an arduino can actually simulate a mouse press, so that’s my next step. Ultimately, I would like the arduino to be connected to the three buttons, the microphone, and (maybe) the motor of the player (i thought it’d be cool if you could feel the player running as you held it even if it wasn’t functional). (I am also not sure how/if the arduino can have all of those working at once). We’ll see tomorrow how my work turns out!

The Play’s the Thing: Thursday, Dec. 7 at 4:30PM in 234 Cruess

This week we’ll be showing our games alongside software by other students at UC Davis at a public exhibition and book discussion in the ModLab at Cruess 234 this Thursday, December 7 from 4:30-7PM!

Please feel free to invite friends and family to check out what we’ve been working on. You can also tweet at #PlaysTheThing and find the event on Facebook at https://www.facebook.com/events/856973917760600.

Here’s a short description of the event:

From the stage to the screen to the street, embodied forms of performance and protest are changing the way we play in the 21st century. Investigating playful media from a diverse range of contexts including performance studies, literary theory, art criticism, and game studies, new books like Darshana Jayemanne’s Performativity in Literature, Art, and Videogames (2017); Anne-Marie Schleiner The Player’s Power to Change the Game: Ludic Mutation (2017); Gina Bloom’s Gaming the Stage: Playable Media and the Rise of English Commercial Theater (forthcoming), and Stephanie Boluk and Patrick LeMieux’s Metagaming: Playing, Competing, Spectating, Cheating, Trading, Making, and Breaking Videogames (2017) point toward new ways to engage the embodiment, materiality, and history of games.

Made possible by generous support from the Cinema and Digital Media Department, English Department, and ModLab at UC Davis.

DOOOOOOOOOM: The Finaltimate Experience

For my final project, I want to go back to my DOOM roots and focus on play rather than an elaborate recreation. Reskinning DOOM with the tools available has been interesting, and some of my previous considerations would be interesting side projects to continue working on in the future. But right now, for some reason, I don’t feel like doing any of that. I just want the players to feel like they’re playing something made with craft and time and attention. They can feel however they want, but the important takeaways are fun, intrigue, and challenge. A list of characteristics I want this project to contain by the end of its conception and execution:

  1. At least 5 well-designed levels (hopefully 8, making a full episode, by the final due date)
  2. A background storyline conveyed through level details
  3. Game feature spotlights, such as key card puzzles, traps, jump-scares, and secrets
  4. Some updates to the original DOOM, including new monsters, weapons, sprites, and maybe textures (although not to detract too heavily from the original DOOM aesthetic)
  5. Design features that stray from the limitations of the original and showcase the capabilities of using modern tools such as GZDOOM

I want this project to culminate every design lesson taught throughout each week without the tedium of creating everything from scratch. This way I can work through the details that I never fully investigated in prior projects simply because the new features implemented to fulfill requirements took precedence. Now that I know how things work in DOOM, or at least how they’re supposed to work, I can think about my level design from a holistic standpoint. For now, my worst enemy is myself when it comes to finishing this over an appropriate course. I know I have a tendency to do projects within a limited time frame, usually because I procrastinate much more than the average person and also because I like seeing something through from beginning to end without many breaks in the creative process. With an undertaking this huge, though, I need to keep working, even if I’m not in front of the level editor itself.

To end, here are a few additions I will make to the pool of resources I have to make these  levels (some of which will have to do with my story arc)


DOOOOOOOOM: The Ardultimate Experience

Although this week’s project had a lot less to do with DOOM than previous weeks, I found our Arduino work fitting for one of the main themes of this class: taking something and making it do more than intended. My experience with hardware is mainly fact-based in that I know about hardware and practices, but I myself am not practiced. For this reason especially, I found the process of working with an Arduino for the first time, as well as taking apart a computer mouse, soldering components, and rewiring rewarding and intriguing. If I had more time, I would explore the implied avenues of the Arduino more, but since this is not the case, I will move on to exactly how this work will apply to my project.

Since I will not be utilizing the skills demonstrated during these lessons in hardware manipulations, I turn instead to their implications on a process. To create a custom controller, you start with a game and a way you want to play it, even if that way disconnects the player from the original media in some way. This is exactly what we do in this class, and although the temptation to change the nature of DOOM is strong, I found this week inspiring for the opposite reasons. I want my DOOM mod to be about DOOM, to represent the lengths a mod can go to convey every aspect of the DOOM aesthetic. I want to take DOOM apart to see how it works, and put in a few extra things when putting it back together that id software didn’t include. I’ll get more into my hopes in my next blog post, but for now these are my ruminations.

Doom diary 9: Final Idea

My idea for the final project:

Title: The Simulation

Gameplay: The player is only sometimes in control of movement and the ability to shoot.

Narrative:  I really wanted to do a project with a narrative.  In this game, the player is in a simulation.  FEMA is the player’s guide.  FEMA shares control with the user.  FEMA delivers exposition to reveal more about what the simulation is.  The simulation is about sharing control.


I made a storyboard on my whiteboards.  The storyboard is set to the song Chrome Country by Oneohtrix Point Never:  The timestamps of when control is to be shifted is noted on 2nd picture.

k – Keyboard

ML – mouse look (may not be able to implement this)

MC – mouse click


FEMA art:

Inspiration: Zelda fairy


More art likely to be used:

Wall art in the simulation.

Target practice

Overlaid over screen.

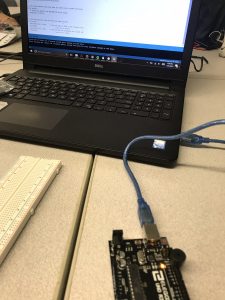
 Used to simulate load screen.


I plan to use the keyboard, Arduino, and  IPAC together to allow the player to lose and gain control.


I hope that I am able to execute on my vision for this game.  It is intended to be a closed experience with not much player action.  The player is experiencing the game more passively than most games.   With this said, one concern I have is the game not being fun, but I am still going to pursue this idea for the exercise in game narrative.


The lost blogs: Doom diary 8: hardware blog

I really enjoyed this week.  We modded a mouse click with an Arduino.

Equipment: soldering kit, amazon basics mouse, arduino kit.

The goal: connect the mouse to the Arduino so we can click the mouse through software.


To start off, I disassembled the mouse.  This is what the mouse looks like with the plastic shell taken off:


Next, I had to take off the old clicker connected to the mouse board.  This was done by heading up the solder on the mouse, then sucking it off the board.  After all the solder was gone, I could remove the clicker. (picture shows clicker removed):

Now that the clicker was removed, I could connect it to the Arduino.  To do this, I used a bread board, and connected the pins that used to go to the clicker to the Arduino.  Now I could control when clicks happen with the Arduino!

This project inspired me to use the Arduino for an idea I had for the final project in which the player is only partially in control of the movement in the game.  The Arduino (in conjunction with an IPAC) will control the player on the screen.

The lost blogs: Doom diary 2

I realized I missed some blog posts, so I will post them now.

On week 2 we toured Doom with cheat codes.

My favorite cheat code by far is the no clip cheat code, which allows the player to walk through walls (see amber’s gif below):

I was so fascinated by this, in fact, I decided to choose a speed running level in which the player glitches outside of the map similar to this cheat code (see below):

Playing through the game with cheat codes made the game much easier to complete.  I enabled invisibility and unlimited ammo, which allowed me to explore the level design throughout the game.

I believe that this week’s assignment to play through the entire game gave me a broad understanding of doom, which  allowed me to create better projects throughout the course.  For example my Kandinsky homage wad relied upon a complete understanding of doom in order to boil it down to its most abstract notes.  Also the divergences from Doom’s original gameplay through changed textures and characters are deliberate because of the understanding I gained from playing through the entire game during this week.


Week 9 Final

I finally have a decided idea on my final project. I will make a map which compared my house and Alice in Wonderland as I did before. However, for this time, I will connected those two closer. The story I have for now is that after watching the movie, Alice in Wonderland, I went to bed and had a dream about it. When I wake up, I realized that for some reason, my roommates are all monsters/zombie/vampire(determined  which looks better). I run out of the house yet there is just more zombies. After I realized that the world has fallen, I come back to the closest of my roommate and end the level. The story itself is a simple combination of previous stories. What I wish to complete is not only the story narration but also use flashback, teleport and abstract texture to express emotion.


I really hesitated about the idea of telling a story as I was afraid that I can not make my level strong and clear enough. In order to make the level strong, I will recreate textures. This time, I will convert picture of my home to sprite so that this time the washing machine will be recognizable. The main workload is on create emotional world and create art assert. I wish to make three world real distinct from each other. As the real world is very realistic and real, Alice is more fancy and warm and the emotional world is more abstract and confused.

I did not do much yet so I can only show some image I plan to use.